Blog

  • Best Air Fryer Personal Pizza Recipe

    Best Air Fryer Personal Pizza Recipe

    Best Air Fryer Personal Pizza Recipe: A Game-Changer for Pizza Lovers

    As a self-proclaimed pizza enthusiast, I’ve had my fair share of cooking fails in the kitchen. Who else can relate to that moment when you’re excited to try out a new recipe, only to end up with a soggy, flavorless mess? Yeah, it’s happened to me too!

    But all that changed the day I discovered the magic of making personal pizzas in an air fryer! It’s like a culinary revelation. In this post, I’ll share my favorite Air Fryer personal pizza recipe that yields a crispy crust, gooey cheese, and mouthwatering toppings – all with minimal effort and cleanup.

    Why This Recipe Works

    When it comes to making pizzas, texture is everything! The perfect combination of crunch and chew is what sets great pizzas apart from mediocre ones. In traditional oven-baked pizzas, achieving this texture can be tricky, especially if you’re dealing with a thick crust or uneven cooking. That’s where the air fryer shines!

    The air fryer uses hot air to cook your pizza, resulting in an evenly cooked crust that’s both crispy and chewy. Plus, the hot air helps melt the cheese perfectly, creating a golden-brown, bubbly top that’s hard to resist.

    Ingredients

    Here’s what you’ll need for this mouthwatering recipe:

    * 1 lb pizza dough (homemade or store-bought)
    * 1/4 cup tomato sauce
    * 8 oz mozzarella cheese, shredded
    * 1/2 cup pepperoni slices
    * 1/4 cup chopped fresh basil
    * Salt and pepper to taste
    * Olive oil for brushing the crust

    **Recommended brands:**

    * Pizza dough: Boboli or Trader Joe’s
    * Mozzarella cheese: BelGioioso or Polly-O
    * Pepperoni: Hormel or Dietz & Watson

    **Substitutions:**

    * Use gluten-free pizza dough for a gluten-free option.
    * Replace mozzarella with cheddar, provolone, or a blend of your favorite cheeses.

    Step-by-Step Instructions

    Now that we have our ingredients ready, let’s get started!

    1. Preheat the air fryer to 375°F (190°C).
    2. Roll out the pizza dough to about 1/4 inch thickness.
    3. Brush the crust with a little olive oil and sprinkle with salt.
    4. Spread the tomato sauce evenly over the crust, leaving a small border around the edges.
    5. Sprinkle the mozzarella cheese over the sauce, followed by the pepperoni slices.
    6. Top with chopped fresh basil for that extra burst of flavor.
    7. Place the pizza in the air fryer basket and cook for 8-10 minutes, or until the crust is golden brown and the cheese is melted and bubbly.

    The “Secret Trick”

    Here’s a pro-tip that sets this recipe apart from others: **use parchment paper to line the air fryer basket**! This will prevent the pizza from sticking to the basket and make cleanup a breeze. Simply place the parchment paper in the basket, add your pizza, and cook as instructed.

    FAQs

    Q: Can I use different toppings?
    A: Absolutely! Feel free to get creative with your favorite toppings – just be mindful of cooking times and adjust accordingly.

    Q: How do I make this recipe gluten-free?
    A: Use a gluten-free pizza dough, and you’re good to go!

    Q: Can I cook multiple pizzas at once?
    A: Yes, but keep in mind that the air fryer will take longer to cook them. For best results, cook one pizza at a time.

    Q: How long does this recipe take from start to finish?
    A: About 20-25 minutes, including prep and cooking time.

    Conclusion

    There you have it – my favorite Air Fryer personal pizza recipe that’s sure to become a staple in your kitchen! With its crispy crust, gooey cheese, and mouthwatering toppings, this recipe is perfect for pizza lovers of all ages. So go ahead, give it a try, and experience the magic of air-fried pizzas for yourself!

    Happy cooking, and don’t forget to share your creations with me on social media using the hashtag #AirFryerPizzaLove!


    📌 Pin This Recipe For Later!

    Best Air Fryer Personal Pizza Recipe

    Save to Pinterest

    📌 Pin This Designed Recipe!

    Save to Pinterest

  • Best Air Fryer Churros Recipe

    Best Air Fryer Churros Recipe

    Best Air Fryer Churros Recipe: A Game-Changer for Snack Lovers

    As a self-proclaimed churro enthusiast, I’ve had my fair share of cooking fails. Who else remembers the time they tried to deep-fry churros at home and ended up with a kitchen covered in flour and a batch of burnt, greasy treats? Yeah, that was me. But after discovering the magic of air frying, I knew I had to create the perfect Air Fryer Churros Recipe.

    Why This Recipe Works

    The key to this recipe’s success lies in its unique texture and health benefits. Unlike traditional deep-fried churros, these Air Fryer Churros are crispy on the outside and soft on the inside without sacrificing any of their signature flavor. The air frying process also allows for a significant reduction in calories and fat, making them a guilt-free snack option.

    Ingredients

    • 1 package active dry yeast (I recommend Red Star Yeast)
    • 2 cups all-purpose flour (use King Arthur Flour for the best results)
    • 1/4 cup granulated sugar
    • 1/2 teaspoon salt
    • 1/4 cup whole milk, lukewarm
    • 2 large eggs
    • Vegetable oil spray (use PAM Cooking Spray for easy release)
    • Cinnamon sugar mixture (see below for recipe)

    Cinnamon Sugar Mixture:

    • 1/4 cup granulated sugar
    • 2 tablespoons ground cinnamon

    Step-by-Step: Air Fryer Churros Recipe

    Now that you have all the ingredients, let’s get started! Follow these easy steps to create the perfect Air Fryer Churros:

    1. In a large mixing bowl, combine yeast, flour, sugar, and salt.
    2. Gradually add lukewarm milk while stirring with a wooden spoon or a stand mixer until a shaggy dough forms.
    3. Knead the dough for 5-7 minutes until it becomes smooth and elastic.
    4. Place the dough in a greased bowl, cover it with plastic wrap, and let it rise in a warm place for about an hour, or until it has doubled in size.
    5. Preheat your air fryer to 375°F (190°C).
    6. Punch down the dough and roll it out into a large rectangle, about 1/4-inch thick.
    7. Cut the dough into 1-inch wide strips.
    8. Spray both sides of each strip with vegetable oil spray.
    9. Place the churro strips in the air fryer basket in a single layer, leaving some space between each piece for even cooking.
    10. Cook the churros for 5-7 minutes or until they are golden brown and puffed up.
    11. Remove the churros from the air fryer and let them cool for a few minutes.
    12. While still warm, toss the churros in cinnamon sugar mixture to coat.

    The “Secret Trick”: Pro-Tip

    Here’s a little-known secret to take your Air Fryer Churros to the next level: after cooking the churros, place them in a low-temperature oven (around 200°F or 90°C) for an additional 5 minutes. This step will help crisp up the outside and give them an extra layer of crunch.

    FAQs

    Q: Can I use a different type of flour?
    A: Yes, you can substitute all-purpose flour with bread flour or whole wheat flour for a nuttier flavor.

    Q: How long do Air Fryer Churros keep?
    A: These churros are best consumed within 24 hours. If stored in an airtight container at room temperature, they’ll stay fresh for up to 3 days. Freeze them for up to 2 months and reheat in the air fryer or oven.

    Q: Can I make these ahead of time?
    A: Yes! You can prepare the dough and refrigerate it overnight or freeze it for up to 2 months. Simply thaw and proceed with the recipe as instructed.

    Get Ready to Fall in Love with Air Fryer Churros!

    These crispy, sweet, and addictive Air Fryer Churros are sure to become a new family favorite. With their unique texture and health benefits, you’ll be hooked from the very first bite. So, go ahead and give this recipe a try – your taste buds (and your waistline) will thank you!

    📌 Pin This Recipe For Later!

    Best Air Fryer Churros Recipe

    Save to Pinterest

    📌 Pin This Designed Recipe!

    Save to Pinterest

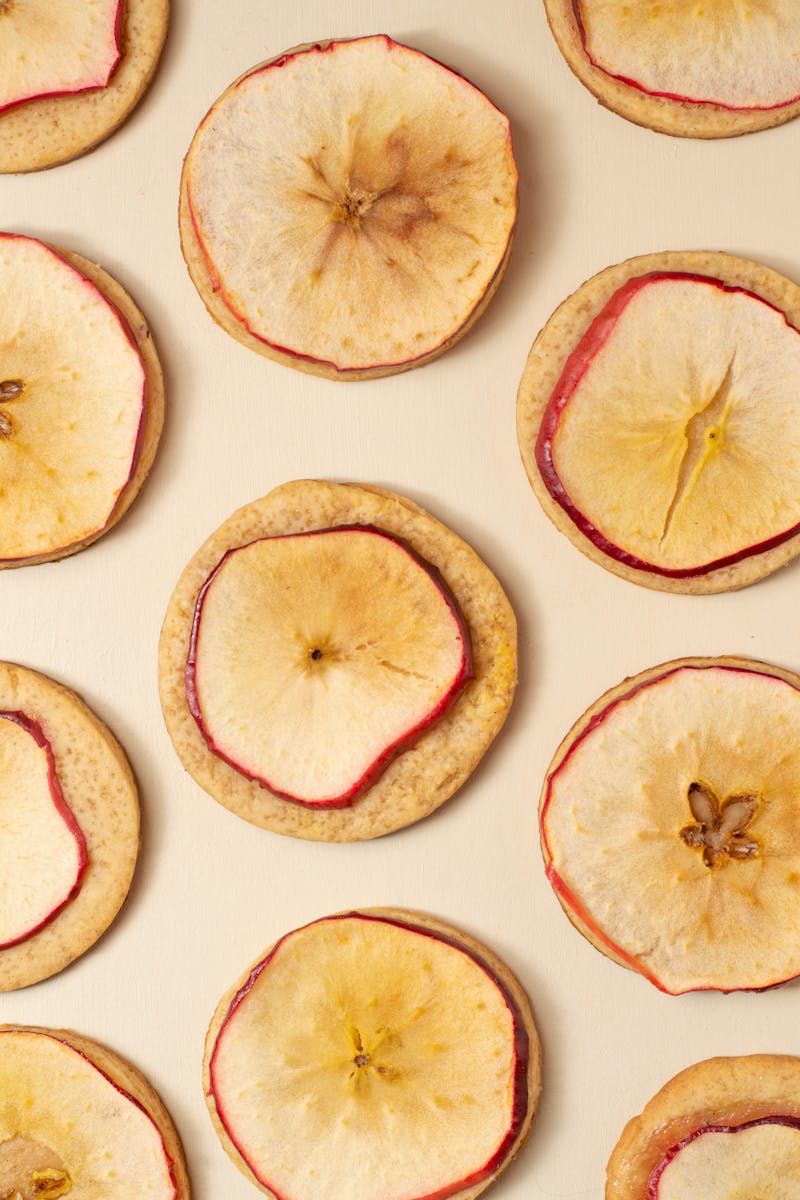
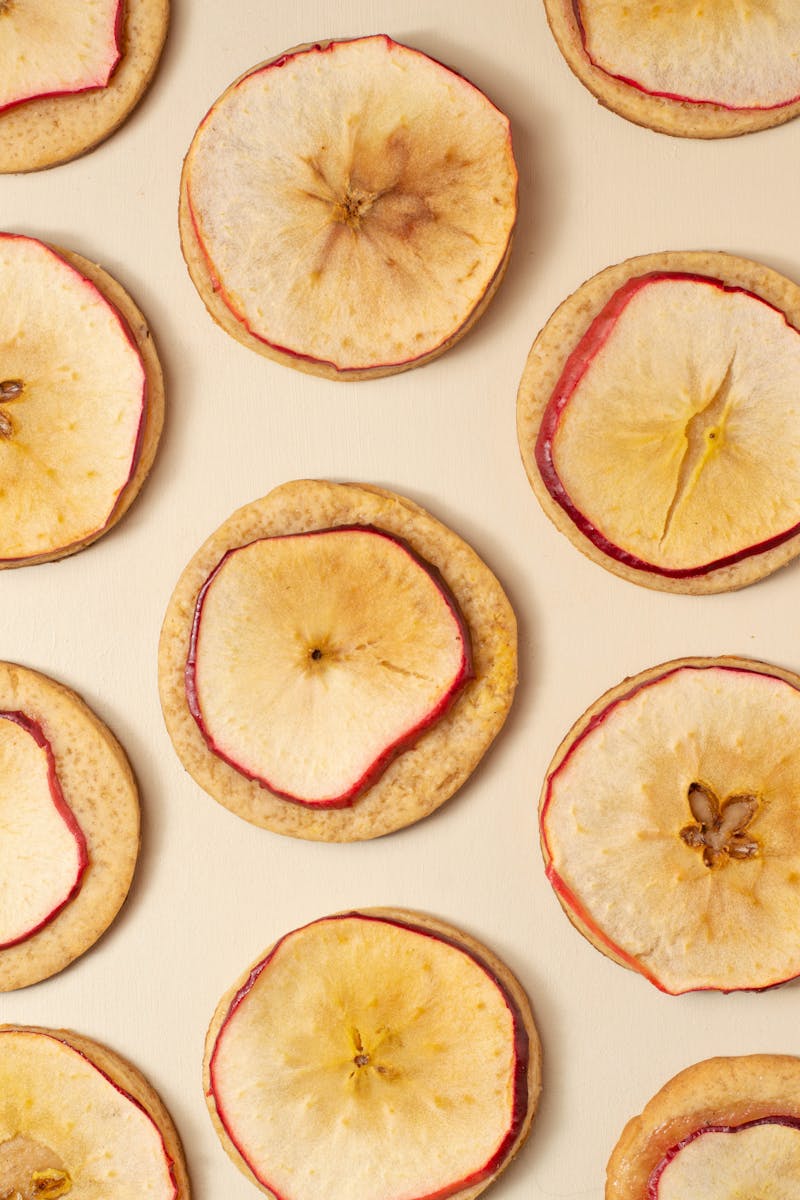
  • Best Air Fryer Apple Chips Recipe

    Best Air Fryer Apple Chips Recipe

    Best Air Fryer Apple Chips Recipe: A Game-Changer for Fall Snacking

    As a self-proclaimed cooking enthusiast, I’ve had my fair share of kitchen disasters. But one particularly embarrassing moment stands out – the time I attempted to make crispy apple chips in the oven and ended up with a batch of soggy, burnt offerings that even the most optimistic guest wouldn’t touch. Needless to say, it was a humbling experience.

    Fast forward to the dawn of the air fryer era, and I couldn’t wait to give this “game-changing” kitchen gadget a try. With its promise of crispy results without the added oil, I knew I had to master the art of making air-fried apple chips. After countless experiments and tweaks, I’m thrilled to share my foolproof recipe with you.

    Why This Recipe Works

    So, what makes these air fryer apple chips so special? It’s all about achieving that perfect texture – crunchy on the outside, tender on the inside. By using a combination of sweet and tart apples, carefully controlling the cooking time, and utilizing the air fryer’s incredible heat circulation technology, we’re able to create a snack that’s both healthy and irresistible.

    Ingredients

    For this recipe, you’ll need:

    * 3-4 apples (any variety, but firmer apples like Granny Smith work best)
    + Recommended brand: Honeycrisp or Fuji for their sweet-tart flavor
    + Substitute: Golden Delicious or McIntosh for a milder taste
    * 1 tablespoon brown sugar
    * 1/2 teaspoon cinnamon
    * Pinch of salt

    Step-by-Step Instructions

    Now that we have our ingredients, let’s get started!

    1. Preheat your air fryer to 375°F (190°C). Yes, you read that right – 375°F! This temperature is crucial for achieving those crispy chips.
    2. Peel the apples and slice them into thin strips, about 1/8 inch thick. You should end up with around 12-15 slices per apple.
    3. In a large bowl, mix together the brown sugar, cinnamon, and salt. Add the sliced apples to the mixture and toss until they’re evenly coated.
    4. Load the apple slices into the air fryer basket in a single layer, leaving some space between each piece for even cooking. You may need to cook them in batches depending on the size of your air fryer.
    5. Cook the apple chips for 10 minutes at 375°F (190°C). After 10 minutes, shake the basket to redistribute the apples and ensure even cooking.
    6. Continue cooking the apples for an additional 5-7 minutes or until they reach your desired level of crispiness. Keep an eye on them – they can go from perfect to burnt quickly!
    7. Remove the apple chips from the air fryer and let them cool completely on a paper towel-lined plate.

    The “Secret Trick”

    Here’s where things get interesting: to take these air-fried apple chips to the next level, I recommend sprinkling a pinch of sea salt over the top of each chip before serving. The combination of sweet and salty flavors will leave you hooked!

    📌 Pin This Recipe For Later!

    Best Air Fryer Apple Chips Recipe

    Save to Pinterest

  • Best Air Fryer Glazed Donuts Recipe

    Best Air Fryer Glazed Donuts Recipe

    Best Air Fryer Glazed Donuts Recipe: A Game-Changer for Breakfast Lovers

    I still remember the day I attempted to make donuts from scratch. The dough was a mess, and the frying process left me with a batch of greasy, soggy treats that looked more like hockey pucks than fluffy donut goodness. It was a wake-up call – or rather, a crash course in why some recipes are better left unattempted.

    Fast-forward to when I stumbled upon the magic of air frying. Having tried and failed with multiple cooking methods, I was skeptical at first. But one fateful morning, as I was experimenting with my trusty Air Fryer, something clicked. The resulting donuts were not only perfectly cooked but also ridiculously easy to make – a revelation that changed my breakfast game forever.

    Why This Recipe Works: Texture and Health

    The secret to this Air Fryer Glazed Donuts recipe lies in its ability to balance texture and health. Unlike traditional frying methods, air frying uses little to no oil, resulting in donuts that are remarkably light and fluffy. The glaze adds a sweet, sticky touch without overpowering the delicate texture of the donut itself.

    What Makes This Recipe Unique:

    • Uses minimal oil: No deep-frying required – just a quick spritz of cooking spray for perfect browning!
    • Results in light and fluffy donuts: Air frying maintains the delicate texture, making each bite a joy.
    • No artificial preservatives or additives: Fresh ingredients only, ensuring a healthier breakfast option.

    Ingredients:

    To achieve these mouthwatering results, you’ll need the following:

    • 1 package active dry yeast (Red Star or Fleischmann’s recommended)
    • 2 cups all-purpose flour (White Lily or King Arthur preferred for a lighter texture)
    • 1/4 cup granulated sugar
    • 1/2 teaspoon salt
    • 1/2 cup whole milk, lukewarm
    • 2 large eggs
    • 2 tablespoons unsalted butter, melted (Earth Balance or Kerrygold for a richer flavor)
    • 1 teaspoon pure vanilla extract
    • Cooking spray (Pam or non-stick cooking spray recommended)
    • Glaze ingredients: powdered sugar, milk, and vanilla extract (see below)

    Step-by-Step:

    Now that we have our ingredients, let’s dive into the process. Follow along as if I’m guiding you through a friendly kitchen conversation:

    Step 1: Activate Yeast and Mix Wet Ingredients

    In a large mixing bowl, combine yeast, sugar, and lukewarm milk. Stir gently to dissolve the yeast, then let it sit for 5-7 minutes until the mixture becomes frothy.

    Step 2: Combine Dry Ingredients and Melted Butter

    In a separate bowl, whisk together flour, salt, and melted butter until well combined.

    Step 3: Combine Wet and Dry Mixtures

    Add the wet ingredients to the dry mixture and stir until a shaggy dough forms. Don’t worry if it looks rough – we’ll get there!

    Step 4: Knead and Rest

    Knead the dough for 5-7 minutes until it becomes smooth and elastic. Place the dough in a greased bowl, cover with plastic wrap, and let it rest in a warm spot for about an hour or until doubled in size.

    Step 5: Air Fry Donuts

    Punch down the dough and roll out to about 1/2-inch thickness. Use a donut cutter or a glass to create your desired shape. Place the donuts in a single layer in the air fryer basket, leaving some space between each for even cooking.

    Step 6: Cook and Glaze

    Spray the donuts lightly with cooking spray and cook at 375°F (190°C) for 4-5 minutes or until golden brown. Remove from the air fryer and let cool slightly. While still warm, prepare the glaze by whisking together powdered sugar, milk, and vanilla extract. Drizzle the glaze over the donuts and serve immediately.

    The “Secret Trick”: Pro-Tip

    Want to take your Air Fryer Glazed Donuts game to the next level? Try this pro-tip:

    • Use a mixture of granulated sugar and cornstarch in place of all-purpose flour for an extra-crispy exterior. Simply combine 1 cup granulated sugar, 2 tablespoons cornstarch, and 1/4 cup whole milk to create the dry mixture.

    FAQs:

    Got questions? We’ve got answers!

    • Q: Can I use a different type of flour?
    • A: Yes, but keep in mind that whole wheat or oat flour might affect the texture and browning. All-purpose flour is recommended for the best results.
    • Q: What if my donuts don’t rise?
    • A: Check your yeast activation time and ensure the dough has enough liquid. If you’re still experiencing issues, try adjusting the temperature or cooking time in the air fryer.

    And that’s it! With this Air Fryer Glazed Donuts recipe, you’ll be well on your way to a breakfast revolution. Treat yourself and your loved ones to a sweet, crunchy, and healthier donut experience – all thanks to the magic of air frying.

    Get Ready to Level Up Your Breakfast Game!

    Try this game-changing recipe today and join the ranks of breakfast enthusiasts who’ve discovered the secret to mouthwatering Air Fryer Glazed Donuts. Happy cooking, and don’t forget to share your creations with us on social media using the hashtag #AirFryerDonuts!

    📌 Pin This Recipe For Later!

    Best Air Fryer Glazed Donuts Recipe

    Save to Pinterest

    📌 Pin This Designed Recipe!

    Save to Pinterest

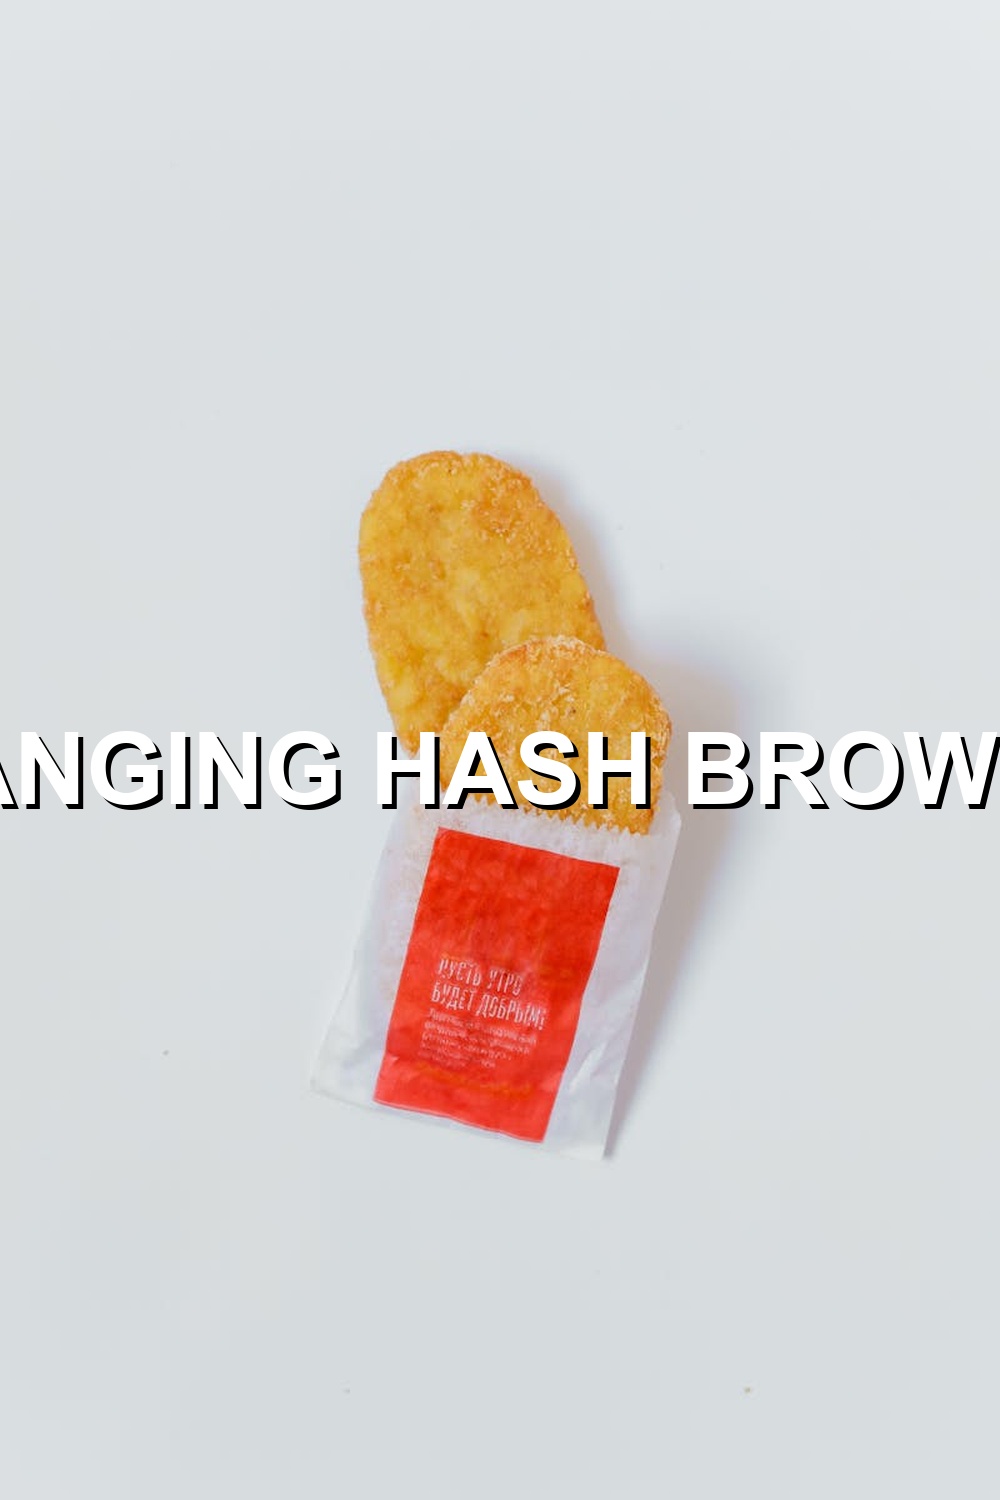
  • Best Air Fryer Hash Browns Recipe

    Best Air Fryer Hash Browns Recipe

    **Best Air Fryer Hash Browns Recipe: A Game-Changer for Breakfast Lovers**

    As a self-proclaimed breakfast enthusiast, I’ve had my fair share of hash brown disasters. From soggy, oily messes to burnt offerings that resembled charcoal briquettes, I thought I’d never find the perfect recipe. That was until I discovered the magic of air frying.

    In this post, I’ll share my journey from cooking failure to culinary triumph, along with the secrets to making the crispiest, most flavorful hash browns you’ve ever tasted using an air fryer.

    **Why This Recipe Works**

    Traditional hash brown recipes often rely on deep-frying or pan-frying, which can result in greasy, heavy dishes. But with the rise of air fryers, it’s now possible to achieve that perfect balance of crunch and fluffiness without sacrificing health or flavor. By using an air fryer, you’ll get:

    * A crispy exterior, similar to a fried potato
    * A fluffy interior, similar to a baked potato
    * Reduced oil consumption, making this recipe a healthier option

    **Ingredients**

    For this recipe, you’ll need the following ingredients:

    * 2-3 large Russet potatoes, peeled and grated
    * 1/4 cup all-purpose flour (Bob’s Red Mill)
    * 1/2 teaspoon salt (Himalayan Pink Salt)
    * 1/4 teaspoon black pepper
    * 1/4 teaspoon garlic powder (Spice Islands)
    * 1/4 teaspoon paprika (Sweet or Smoked, whichever you prefer)

    **Step-by-Step: Making the Best Air Fryer Hash Browns**

    Preheat your air fryer to 375°F (190°C). While it’s heating up, prepare the grated potatoes by squeezing out excess moisture using a clean dish towel. Yes, you read that right – squeeze! This step is crucial in ensuring your hash browns don’t steam instead of crisp.

    In a large bowl, combine the grated potatoes, flour, salt, black pepper, garlic powder, and paprika. Mix until the potatoes are evenly coated with the dry ingredients.

    **The “Secret Trick”**

    Now it’s time to add the secret ingredient that sets these hash browns apart from the rest: 1-2 tablespoons of cornstarch (Archer Farms). Yes, you read that right – cornstarch! This addition helps absorb any excess moisture and gives your hash browns an addictive crunch.

    Transfer the potato mixture to a single layer in the air fryer basket. Cook for 10-12 minutes, shaking the basket halfway through. You’ll know they’re done when they’re golden brown and crispy on the outside.

    **Tips & Variations**

    * For an extra crispy exterior, increase the cooking time by 2-3 minutes or try adding a small amount of grated Parmesan cheese (Kraft) to the potato mixture.
    * Experiment with different seasonings like dried herbs (thyme, rosemary), smoked paprika, or even a sprinkle of cumin for added depth.
    * If you’re short on time, prepare the hash browns up to a day in advance and refrigerate. Simply reheat them in the air fryer at 375°F (190°C) for 2-3 minutes.

    **FAQs**

    Q: Can I use other types of potatoes?
    A: While Russet potatoes work best, you can experiment with Yukon Gold or sweet potatoes for a slightly different flavor profile.

    Q: How do I store leftover hash browns?
    A: Refrigerate in an airtight container for up to 3 days. Reheat as needed by cooking in the air fryer at 375°F (190°C) for 2-3 minutes.

    In conclusion, this Best Air Fryer Hash Browns Recipe is a game-changer for breakfast enthusiasts and anyone looking to elevate their brunch game. With its crispy exterior, fluffy interior, and reduced oil consumption, it’s a recipe that will become a staple in your kitchen. So go ahead, give it a try, and discover the perfect balance of texture and flavor!

    📌 Pin This Recipe For Later!

    Best Air Fryer Hash Browns Recipe

    Save to Pinterest

    📌 Pin This Designed Recipe!

    Save to Pinterest

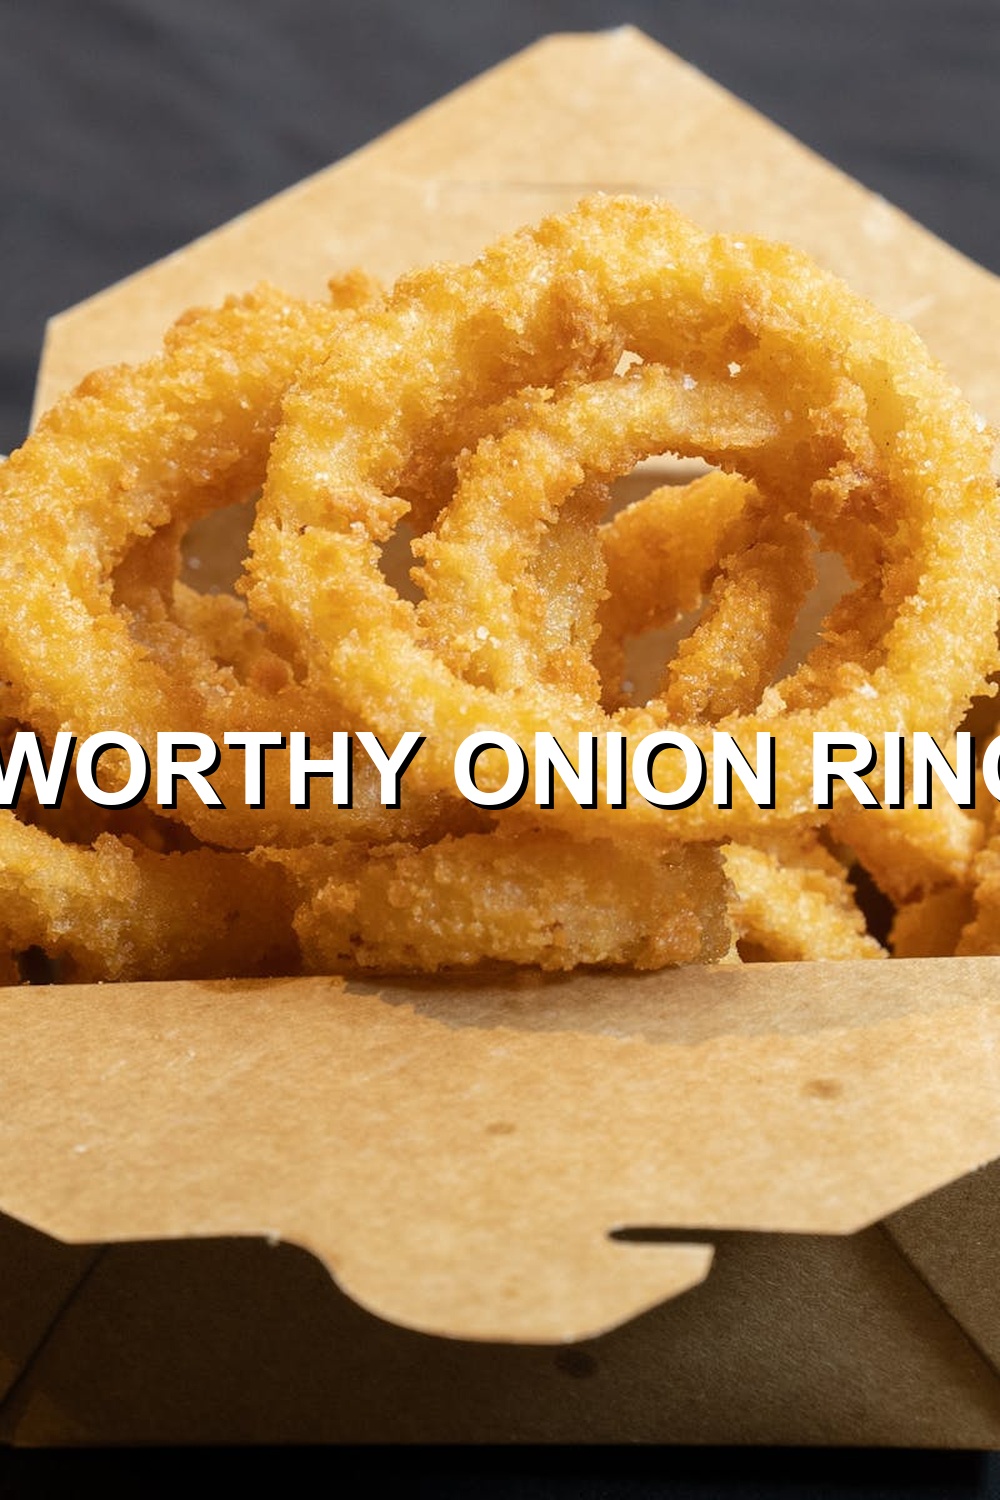
  • Best Air Fryer Onion Rings Recipe

    Best Air Fryer Onion Rings Recipe

    Best Air Fryer Onion Rings Recipe: A Game-Changer for Cozy Nights

    As a self-proclaimed cooking enthusiast, I’ve had my fair share of kitchen disasters. But one particular evening stands out as the most cringe-worthy moment in my culinary career. It was a chilly winter night, and I decided to try making onion rings from scratch. Sounds simple, right? Well, let me tell you – it wasn’t.

    I spent hours slicing onions, mixing batter, and deep-frying those pesky rings. The result? A batch of soggy, greasy, and utterly inedible snacks that even the most adventurous eaters wouldn’t dare touch. My taste buds were left crying, my kitchen was covered in a sticky mess, and I vowed never to attempt onion rings again.

    Fast-forward to a few weeks later when I stumbled upon an Air Fryer at a friend’s dinner party. The aroma wafting from that machine was nothing short of magical – crispy, savory, and utterly mouthwatering. It was as if the heavens had parted, and the food gods had descended upon my kitchen.

    Intrigued, I rushed home to try out this wondrous device. And let me tell you, it was a revelation! The Air Fryer’s ability to produce perfectly cooked onion rings without the need for gallons of oil or hours of prep time was nothing short of miraculous.

    Why This Recipe Works

    So, what makes this Air Fryer Onion Rings recipe so special? For starters, it’s all about texture. When done correctly, these crispy little morsels offer a delightful crunch that gives way to a sweet, caramelized onion flavor. It’s a match made in heaven!

    But beyond the sheer delight of biting into a perfectly cooked onion ring, this recipe also boasts a significant health advantage. By using an Air Fryer, you can reduce your reliance on oil and minimize the calorie count – making it an excellent choice for those looking to make healthier choices without sacrificing flavor.

    Ingredients

    Here’s what you’ll need to create this culinary masterpiece:

    * 1 large onion, sliced into rings
    * 1 cup all-purpose flour (I prefer King Arthur Unbleached All-Purpose Flour)
    * 1 teaspoon paprika
    * 1/2 teaspoon garlic powder
    * 1/2 teaspoon salt
    * 1/4 teaspoon black pepper
    * 1 cup panko breadcrumbs (I recommend Panko Japanese-Style Breadcrumbs for their light, airy texture)
    * 2 tablespoons olive oil
    * 1 egg, beaten (for dipping)
    * Air Fryer (I use the Philips Airfryer Avance XXL)

    Step-by-Step

    Now that we’ve got our ingredients in order, let’s get cooking!

    1. Preheat your Air Fryer to 400°F (200°C).
    2. In a shallow dish, mix together flour, paprika, garlic powder, salt, and pepper.
    3. Dredge the onion rings in the flour mixture, shaking off any excess.
    4. Dip the floured onion rings in the beaten egg, making sure they’re fully coated.
    5. Roll the egg-coated onion rings in panko breadcrumbs, pressing gently to ensure they stick.
    6. Place the breaded onion rings in a single layer on the Air Fryer basket. You may need to cook them in batches depending on the size of your Air Fryer.
    7. Drizzle the olive oil over the onion rings, making sure they’re evenly coated.
    8. Cook the onion rings for 10-12 minutes, shaking the basket halfway through.

    The “Secret Trick”

    Here’s where things get really interesting: to take these onion rings to the next level, I recommend a quick spritz of water before cooking. Yes, you read that right – water! This simple trick helps create an extra-crispy exterior and a tender interior. Just be sure to pat the onion rings dry with paper towels before cooking to prevent any excess moisture from affecting the texture.

    FAQs

    Q: Can I use a different type of flour or breadcrumbs?
    A: Absolutely! While the ingredients listed above work beautifully, feel free to experiment with other options. Just keep in mind that you may need to adjust the seasoning accordingly.

    Q: How do I reheat leftover onion rings?
    A: Simply place them in the Air Fryer at 375°F (190°C) for 2-3 minutes, or until crispy and hot again.

    Q: Can I make these onion rings ahead of time?
    A: Yes! You can prepare the onion rings up to a day in advance and store them in an airtight container. Simply reheat them in the Air Fryer before serving.

    There you have it – the ultimate Air Fryer Onion Rings recipe that’s sure to become a staple in your kitchen. With its crispy texture, sweet flavor, and reduced calorie count, this dish is perfect for cozy nights in or as a snack for your next gathering. So go ahead, give it a try, and let me know what you think!

    📌 Pin This Recipe For Later!

    Best Air Fryer Onion Rings Recipe

    Save to Pinterest

    📌 Pin This Designed Recipe!

    Save to Pinterest

  • Best Air Fryer Meatloaf Recipe

    Best Air Fryer Meatloaf Recipe

    **Best Air Fryer Meatloaf Recipe: A Game-Changer for Busy Home Cooks**

    As a self-proclaimed food enthusiast, I’ve had my fair share of cooking disasters. One particularly memorable failure involved a meatloaf that was so dense and dry, it could have been used as a doorstop. But, as they say, “when life gives you lemons, make lemonade” – or in this case, when life gives you an air fryer, create the perfect meatloaf recipe!

    After that fateful cooking fail, I was determined to redeem myself and find a way to cook a mouth-watering meatloaf without sacrificing texture or flavor. Enter: my trusty air fryer! With its ability to crisp up food with minimal oil, I knew it could be the key to achieving the perfect meatloaf.

    **Why This Recipe Works**

    So, what makes this air fryer meatloaf recipe stand out? It’s all about the texture and health benefits, folks!

    * **Texture**: The air fryer helps to lock in juices and create a tender, moist interior, while the crispy outside adds a satisfying crunch.
    * **Health Benefits**: By using an air fryer, you can reduce your meatloaf’s fat content by up to 70% compared to traditional oven-baked methods. This is especially important for those with dietary restrictions or preferences.

    **Ingredients**

    Here are the essential ingredients you’ll need for this mouth-watering air fryer meatloaf:

    * **Meat**: 1 lb ground beef (I recommend using a leaner option like 90% Angus beef)
    * **Breadcrumbs**: 1/2 cup whole wheat breadcrumbs (I prefer Panko brand)
    * **Eggs**: 1 large egg
    * **Onion**: 1 medium onion, finely chopped
    * **Seasonings**: 1 tsp salt, 1 tsp black pepper, 1 tsp dried oregano
    * **Ketchup**: 2 tbsp ketchup (I like Heinz brand)
    * **Brown Sugar**: 1 tsp brown sugar
    * **Worcestershire Sauce**: 1 tsp Worcestershire sauce (Lea & Perrins works great)

    **Step-by-Step: A Friendly Guide**

    Now that we have our ingredients, let’s get started!

    1. Preheat your air fryer to 375°F (190°C).
    2. In a large bowl, combine the ground beef, breadcrumbs, egg, onion, salt, black pepper, and dried oregano. Mix until just combined – don’t overmix!
    3. Transfer the meat mixture to a loaf pan or shape it into a loaf by hand.
    4. Place the meatloaf in the air fryer basket, leaving some space around it for even cooking.
    5. Cook the meatloaf for 12-15 minutes, flipping halfway through.
    6. While the meatloaf is cooking, mix together the ketchup, brown sugar, and Worcestershire sauce in a small bowl.
    7. After the meatloaf has finished cooking, brush it with the ketchup mixture and return it to the air fryer for an additional 2-3 minutes.

    **The “Secret Trick”**

    Here’s what sets this recipe apart from others: **temperature control**! To ensure the perfect crust on your meatloaf, make sure you’re using a thermometer and keeping an eye on the internal temperature. When it reaches 160°F (71°C), it’s time to flip.

    By controlling the temperature, you’ll get that ideal crispiness without overcooking the inside. Trust me, this “secret trick” makes all the difference!

    **FAQs**

    Got questions? I’ve got answers!

    Q: Can I use other types of meat instead of ground beef?
    A: Yes! You can substitute with ground turkey, chicken, or pork for a different flavor profile.

    Q: How do I keep the meatloaf from drying out?
    A: Make sure to not overmix the meat mixture and don’t cook it too long. Also, try using a thermometer to ensure the internal temperature reaches 160°F (71°C).

    Q: Can I make this recipe in advance?
    A: Yes! You can prepare the meat mixture ahead of time and store it in the fridge for up to 24 hours or freeze for up to 2 months.

    There you have it – the ultimate air fryer meatloaf recipe that’s sure to become a family favorite! With its perfect balance of texture and flavor, this dish is ideal for busy home cooks who want to impress without sacrificing their sanity.

    📌 Pin This Recipe For Later!

    Best Air Fryer Meatloaf Recipe

    Save to Pinterest

    📌 Pin This Designed Recipe!

    Save to Pinterest

  • Best Air Fryer Burgers Recipe

    Best Air Fryer Burgers Recipe

    Best Air Fryer Burgers Recipe

    Who else is guilty of overcooking their burgers? I certainly am! Remember that time you spent hours prepping and grilling the perfect patty, only to end up with a dry, tasteless mess? Yeah, me too.

    A Cooking Fail That Led Me to Perfection

    I was determined to get it right this time. After scouring the internet for the perfect air fryer burgers recipe, I stumbled upon a hidden gem. This game-changing method transformed my burger experience forever! The crispiest, juiciest patties ever? Yes, please!

    Why This Recipe Works

    It’s all about texture and health, folks! Air frying your burgers eliminates the need for excess oil, making it a guilt-free alternative to traditional grilled or pan-seared methods. The result is a patty that’s both tender and crispy – talk about the best of both worlds!

    Ingredients

    • 1 pound ground beef (90% lean)
    • 1 medium onion, finely chopped
    • 2 cloves garlic, minced
    • 1 tablespoon Worcestershire sauce
    • 1 teaspoon salt
    • 1/4 teaspoon black pepper
    • 4 hamburger buns (whole wheat or regular)
    • Let’s not forget the toppings: cheese, bacon, lettuce, tomato, pickles, and your favorite condiments!

    Suggested Brand Recommendations/Substitutions:

    • Ground beef: Consider using a leaner option like 90% Angus or Wagyu for added flavor.
    • Worcestershire sauce: If you prefer a milder taste, try substituting with 1-2 tablespoons of ketchup and a pinch of paprika.

    Step-by-Step Instructions:

    Now that we have our ingredients ready, let’s dive into the cooking process. Follow along as if I’m guiding you through this recipe in person!

    1.

    Preheat Your Air Fryer:

    Set your air fryer to 375°F (190°C). Yes, it’s hot! But trust me, it’s necessary for those perfect sears.

    2.

    Mix and Form the Patties:

    In a large bowl, combine ground beef, chopped onion, minced garlic, Worcestershire sauce, salt, and pepper. Use your hands or a spoon to mix until just combined – don’t overmix! Divide the mixture into 4 equal portions and shape each into a ball. Gently flatten each patty into a circle about 3/4-inch thick.

    3.

    Air Fryer Time:

    Place the patties in a single layer on the air fryer basket, leaving some space between each burger for even cooking. Cook for 10-12 minutes or until they reach your desired level of doneness. For medium-rare, aim for an internal temperature of 130°F (54°C) to 135°F (57°C). Adjust the cooking time as needed for your personal preference.

    4.

    Flip and Finish:

    Halfway through the cooking process, flip each patty to ensure even browning. If you’re feeling fancy, add some cheese or bacon bits on top during the last 2 minutes of cooking. This is where the magic happens!

    The “Secret Trick”:

    Here’s a pro-tip that’ll set your air fryer burgers apart from the rest:

    • Don’t press down!

    This might seem counterintuitive, but resist the urge to squish those patties during cooking. You want to preserve the natural texture and allow for even browning. Trust me, it makes all the difference in the world!

    📌 Pin This Recipe For Later!

    Best Air Fryer Burgers Recipe

    Save to Pinterest

    📌 Pin This Designed Recipe!

    Save to Pinterest

  • Best Air Fryer Grilled Cheese Recipe

    Best Air Fryer Grilled Cheese Recipe

    Best Air Fryer Grilled Cheese Recipe: A Game-Changer for Snack Lovers

    As a self-proclaimed grilled cheese enthusiast, I’ve had my fair share of cooking disasters. Who else remembers the time they attempted to make the perfect grilled cheese sandwich only to end up with a burnt, crumbly mess? Yeah, that was me.

    But all hope wasn’t lost! After researching and experimenting, I stumbled upon the magic of air frying. And let me tell you, it’s been a game-changer for my snack time. The result is a crispy, gooey, and utterly delicious grilled cheese sandwich that will leave you wanting more.

    Why This Recipe Works

    So, what makes this Air Fryer grilled cheese recipe so special? It all comes down to texture and health. Conventional grilled cheese sandwiches can be heavy and greasy, but air frying changes the game. By using the right ingredients and techniques, you’ll end up with a sandwich that’s both crispy on the outside and melty on the inside – without sacrificing flavor or nutrition.

    Ingredients:

    Step-by-Step Instructions:

    To make this mouth-watering grilled cheese sandwich, follow these simple steps:

    1. Preheat your air fryer to 375°F (190°C).
    2. Butter one side of two slices of sourdough bread.
    3. Place one slice of bread, buttered-side down, in the air fryer basket.
    4. Add a sprinkle of salt and a layer of shredded cheddar cheese on top of the bread.
    5. Place a second slice of bread, buttered-side up, on top of the cheese.
    6. Add another layer of mozzarella cheese to melt during cooking.
    7. Cook for 3-4 minutes or until the cheese is melted and the bread is toasted.
    8. Flip the sandwich over and cook for an additional 2-3 minutes, or until the other side is also toasted.

    The “Secret Trick”:

    Want to take your grilled cheese game to the next level? Here’s a pro-tip that sets this recipe apart:

    • Patience is key:** Don’t rush the cooking process. Allow the sandwich to cook for the full recommended time, as this allows the cheese to melt evenly and the bread to toast perfectly.

    FAQs:

    Got questions? Here are some frequently asked questions to help you achieve grilled cheese perfection:

    • Can I use other types of cheese? Absolutely! Feel free to experiment with different cheeses, such as gouda, provolone, or even goat cheese.
    • What if my air fryer doesn’t have a temperature control? No worries! Simply cook the sandwich for an additional minute at a time until it reaches your desired level of toastiness.
    • Can I make this recipe in bulk? Yes, you can! Just be sure to adjust the cooking time based on the number of sandwiches you’re making. A good rule of thumb is to cook them in batches, allowing each sandwich to cook for about 4-5 minutes before flipping.

    In Conclusion:

    With this Air Fryer grilled cheese recipe, you’ll be enjoying a crispy, gooey, and utterly delicious snack that’s sure to impress. By using the right ingredients, techniques, and patience, you’ll create a sandwich that’s both healthy and indulgent. So go ahead, give it a try, and get ready to elevate your snack game!

    📌 Pin This Recipe For Later!

    Best Air Fryer Grilled Cheese Recipe

    Save to Pinterest

    📌 Pin This Designed Recipe!

    Save to Pinterest

  • Best Air Fryer Hard Boiled Eggs Recipe

    Best Air Fryer Hard Boiled Eggs Recipe

    **Best Air Fryer Hard Boiled Eggs Recipe**

    As a self-proclaimed cooking enthusiast, I’ve had my fair share of kitchen disasters. Who else remembers the time they overcooked their eggs by a mile and ended up with green-ish yolks? Yeah, it was a real egg-stra special moment.

    Fast forward to today, and I’m thrilled to share with you my game-changing Air Fryer hard-boiled eggs recipe that’s not only easy but also packs a nutritious punch!

    **Why This Recipe Works: Texture & Health**

    When it comes to cooking perfect hard-boiled eggs, texture is key. Overcooked or undercooked eggs can be a real letdown. But fear not, dear readers! The Air Fryer has got you covered. By using this method, you’ll achieve the perfect balance of creamy yolks and firm whites.

    Not only will your taste buds thank you, but so will your body. Eggs are an excellent source of protein, vitamins, and minerals. Plus, by cooking them in the Air Fryer, you’re avoiding unnecessary chemicals and additives often found in traditional boiling methods.

    **Ingredients:**

    For this recipe, you’ll need:

    * 6-8 large eggs
    * Salt (optional)
    * Water

    **Recommended Brands:**

    If you want to take your egg game to the next level, consider using high-quality eggs from brands like:

    * Organic Valley
    * Vital Farms
    * Eggland’s Best

    Feel free to swap out any of these for your favorite brand or store-bought option.

    **Step-by-Step: A Friend Explains**

    Now that we have our ingredients, let’s get cracking! Follow along as I guide you through the process:

    1. Preheat your Air Fryer to 250°F (120°C).
    2. Gently place the eggs in a single layer at the bottom of the Air Fryer basket.
    3. Add about an inch (2.5 cm) of water to the Air Fryer pan.
    4. Cook the eggs for 25-30 minutes, depending on your desired level of doneness.
    5. Once cooked, remove the eggs from the Air Fryer and immediately transfer them to a bowl filled with ice-cold water to stop the cooking process.

    **The “Secret Trick”:**

    Here’s my pro-tip: After the eggs have cooled slightly, gently tap each egg against the countertop to crack the shell just enough. This will help release any excess moisture and make peeling easier!

    **FAQs:**

    Q: Can I cook more than 8 eggs at once?
    A: Yes! Just be sure to leave some space between each egg for even cooking.

    Q: Will this method work with small or jumbo eggs?
    A: Absolutely! Adjust the cooking time accordingly based on the size of your eggs.

    Q: How do I store cooked hard-boiled eggs?
    A: Store them in an airtight container in the refrigerator for up to 5 days.

    **Conclusion:**

    There you have it – the best Air Fryer hard-boiled eggs recipe that’s sure to become a staple in your kitchen. With its unique combination of texture and health benefits, this method is sure to impress even the pickiest eaters.

    Give it a try and let me know what you think!

    📌 Pin This Recipe For Later!

    Best Air Fryer Hard Boiled Eggs Recipe

    Save to Pinterest

    📌 Pin This Designed Recipe!

    Save to Pinterest

SnapyTasty: Best Air Fryer Recipes