Tag: Crispy

  • Air Fryer Crispy Chicken Tenders

    Air Fryer Crispy Chicken Tenders

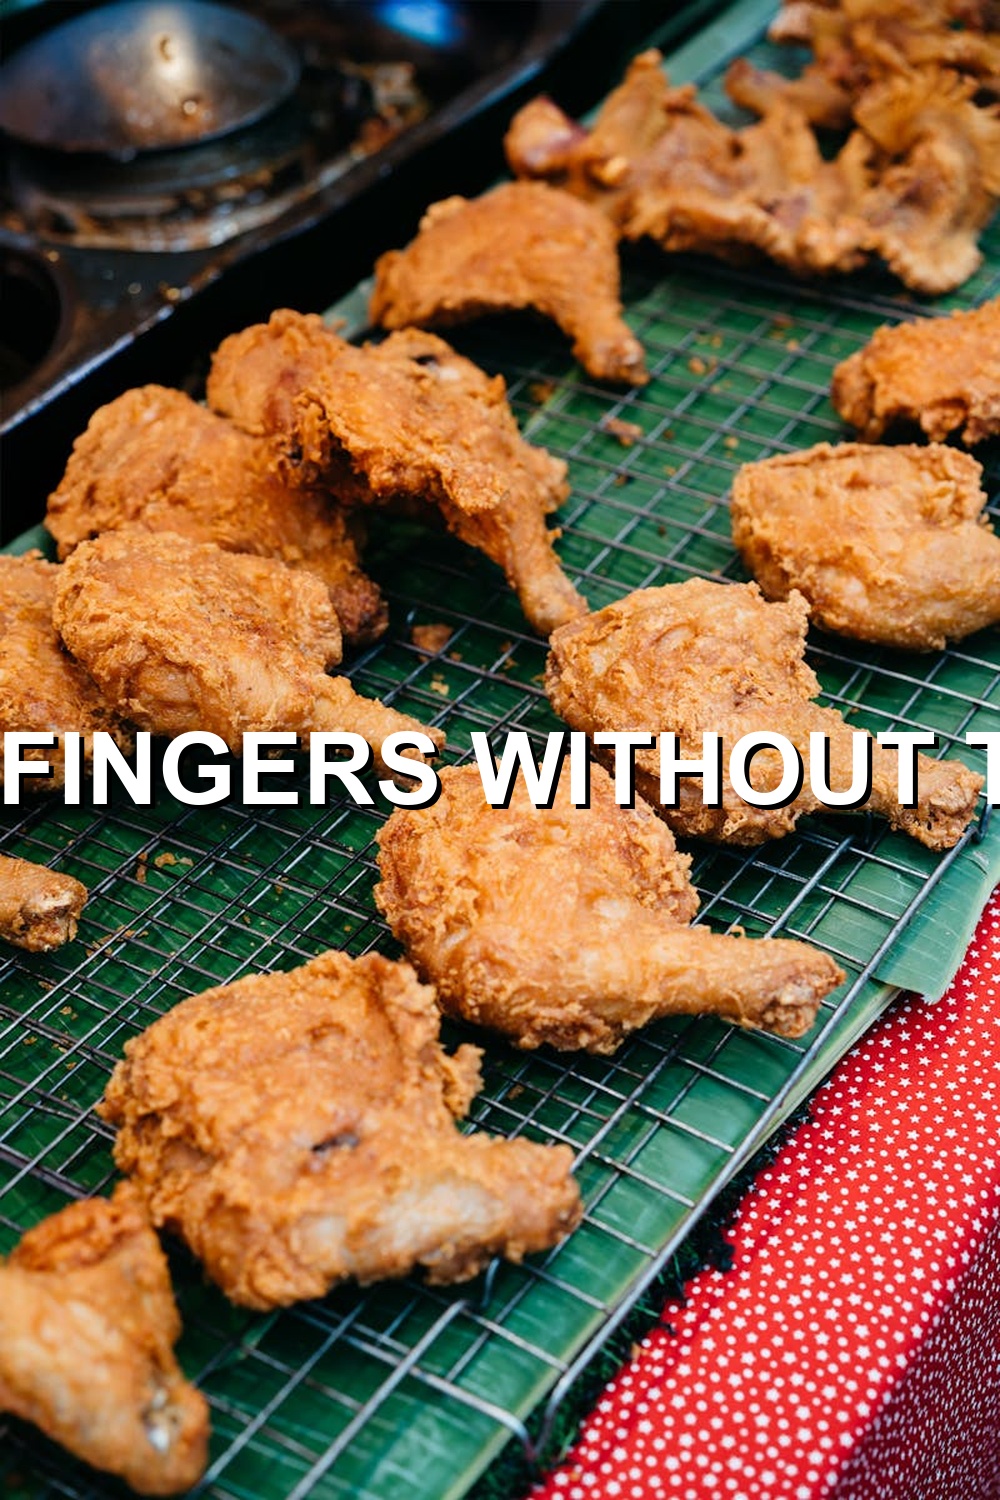
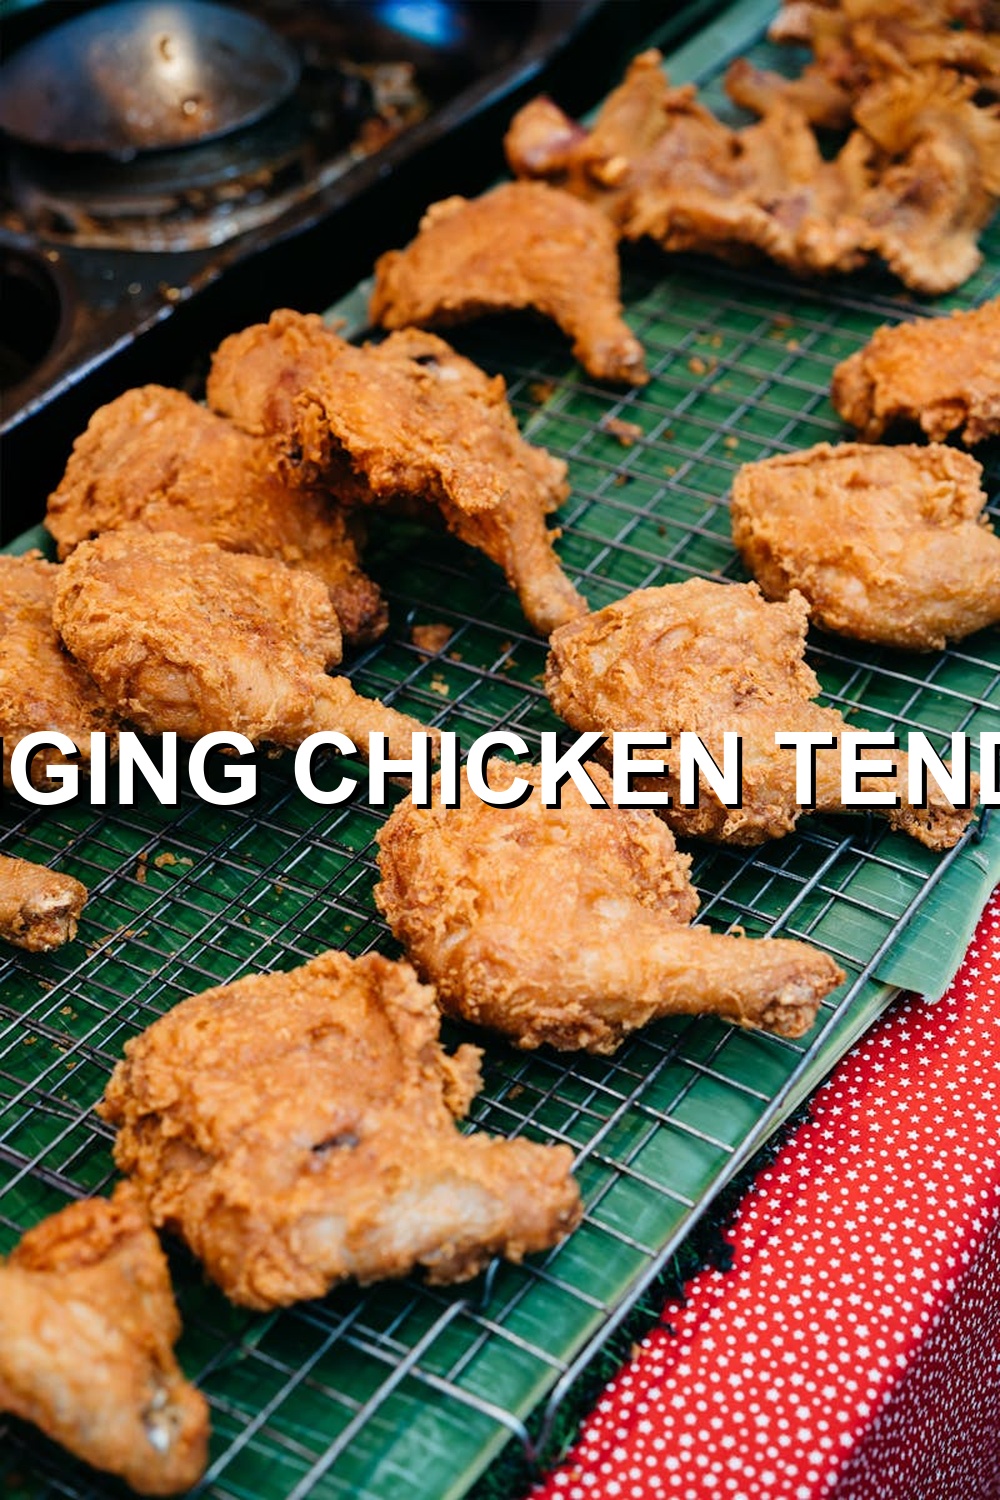
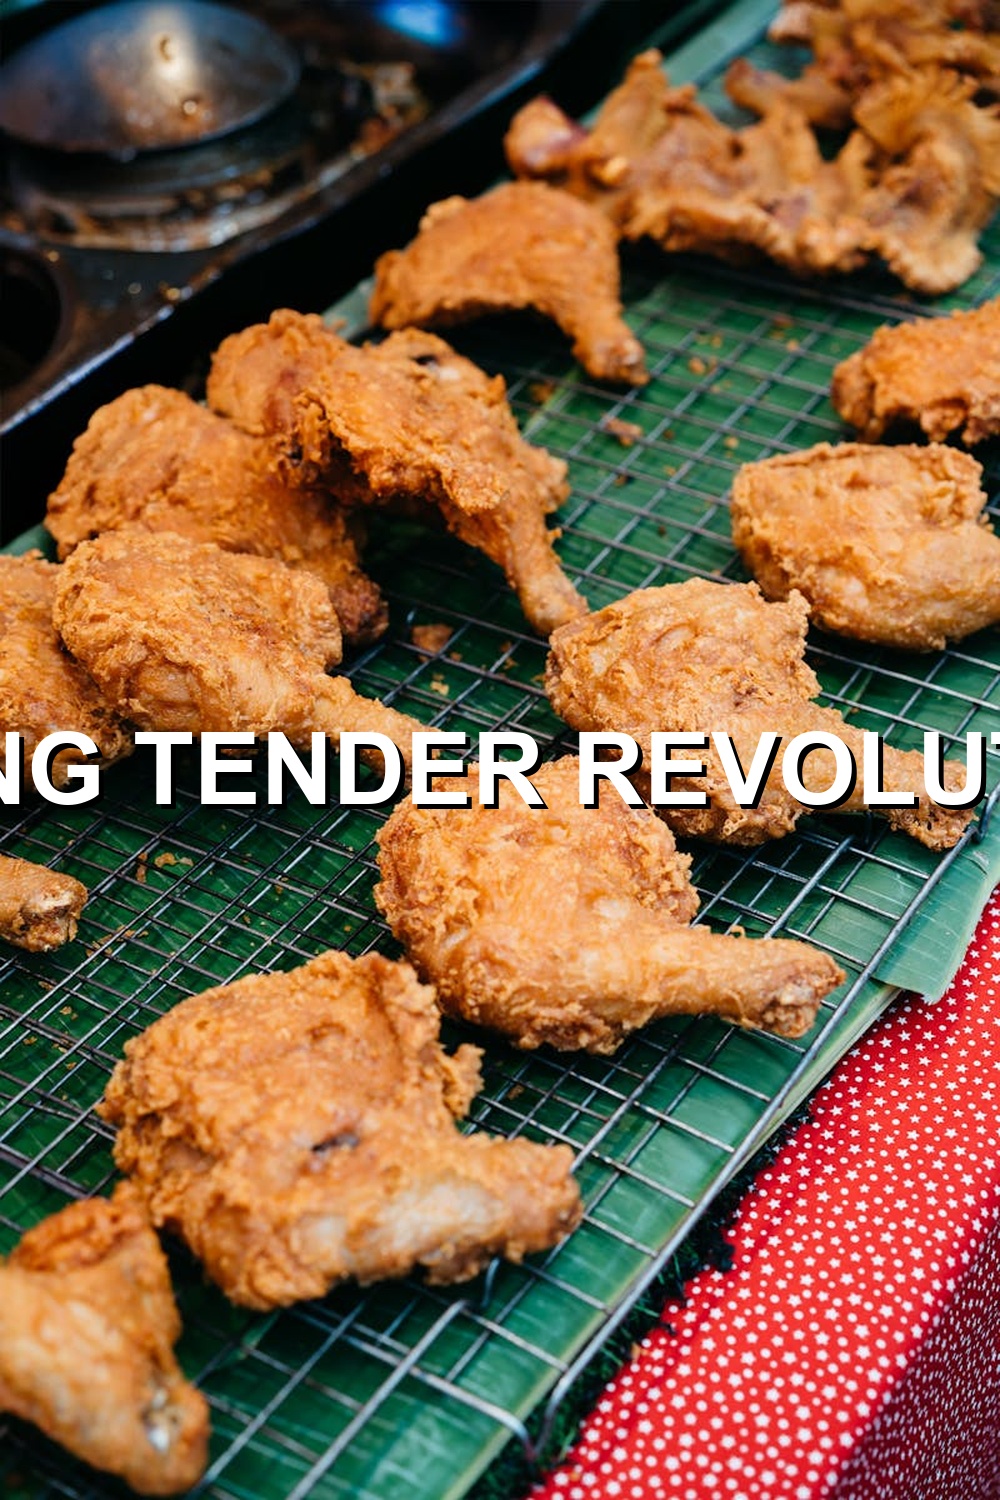
    Air Fryer Crispy Chicken Tenders: A Game-Changing Recipe

    As I stood in front of my kitchen counter, staring at the sad, soggy mess that was supposed to be chicken tenders, I couldn’t help but feel a sense of defeat. It seemed like no matter how hard I tried, I just couldn’t get them right. The breading would fall off, leaving me with bland, dry meat. Or worse, they’d be so greasy that even the thought of taking a bite made my stomach turn.

    But then, something changed. I decided to give in and try an Air Fryer. And let me tell you, it was a game-changer. The result? Crispy, juicy, flavorful chicken tenders that left everyone at the table begging for more.

    So, what makes this recipe so special? For starters, it’s all about texture. When cooked correctly, chicken tenders can be crispy on the outside and tender on the inside – a combination that’s hard to resist. And with an Air Fryer, you get that perfect balance without having to deep-fry or overcook.

    But that’s not all. This recipe is also a healthier alternative to traditional fried chicken. By using the Air Fryer, you can cut down on calories and fat while still achieving that crispy exterior. It’s a win-win for anyone looking to make a change in their cooking habits.

    Now, let’s get to the good stuff – the ingredients! Here’s what you’ll need:

    * 1 pound boneless, skinless chicken breast or tenders
    * 1 cup all-purpose flour (I recommend King Arthur Flour)
    * 1 teaspoon paprika
    * 1/2 teaspoon garlic powder
    * 1/2 teaspoon onion powder
    * 1/2 teaspoon salt
    * 1/4 teaspoon black pepper
    * 1/4 teaspoon cayenne pepper (optional, for some heat)
    * 1 cup buttermilk
    * 1 cup panko breadcrumbs (I recommend Progresso)
    * Cooking spray or oil

    Step-by-Step Instructions

    Now that you have your ingredients, it’s time to get started! Here’s how to make the perfect Air Fryer chicken tenders:

    1. In a shallow dish, mix together the flour, paprika, garlic powder, onion powder, salt, black pepper, and cayenne pepper (if using).
    2. Pour the buttermilk into a separate shallow dish.
    3. Dip each piece of chicken into the buttermilk, coating it completely, then roll it in the flour mixture to coat. Place the coated chicken on a plate or tray. Repeat with the remaining chicken.
    4. Spray the Air Fryer basket with cooking spray or oil. This will help prevent sticking and make cleanup a breeze.
    5. Place 3-4 pieces of the chicken tenders into the Air Fryer basket, leaving some space between each piece for even cooking.
    6. Cook the chicken at 375°F (190°C) for 10-12 minutes, shaking the basket halfway through. You may need to adjust the cooking time based on your personal preference for crispiness.

    The “Secret Trick”!

    So, you’re probably wondering what makes these Air Fryer chicken tenders so special. Well, it’s not just the combination of ingredients or the cooking method – it’s a little something extra that I like to call the “secret trick.” And that is… drumroll please… using panko breadcrumbs! These Japanese-style breadcrumbs are lighter and crisper than regular breadcrumbs, which makes them perfect for Air Fryer cooking. They add a delicate texture and flavor to the chicken tenders that you won’t find with traditional breading.

    FAQs

    Q: Can I use other types of breadcrumbs or seasonings?
    A: Absolutely! Feel free to experiment with different seasoning blends or bread crumbs to create your own unique flavor profiles. Just be sure to adjust the cooking time if necessary based on the type of breadcrumbs you choose.

    Q: How do I keep my chicken tenders crispy after cooking?
    A: To keep your Air Fryer chicken tenders crispy, simply place them in a single layer on a baking sheet lined with parchment paper and bake at 200°F (90°C) for 5-10 minutes. This will help to restore the crispiness and prevent sogginess.

    Q: Can I cook frozen chicken tenders in an Air Fryer?
    A: Yes! Just be sure to pat the frozen chicken tenders dry with a paper towel before cooking to ensure even cooking. You may also need to adjust the cooking time based on the size and thickness of your tenders.

    Conclusion

    And there you have it – the perfect Air Fryer chicken tender recipe! With this simple, yet effective method, you can create crispy, juicy, flavorful chicken tenders that are sure to impress. So next time you’re in the mood for some finger-lickin’ good food, give this recipe a try. Your taste buds (and your waistline) will thank you!

    📌 Pin This Recipe For Later!

    Air Fryer Crispy Chicken Tenders

    Save to Pinterest

    📌 Pin This Designed Recipe!

    Save to Pinterest

  • Air Fryer Crispy Chicken Tenders

    Air Fryer Crispy Chicken Tenders

    **Air Fryer Crispy Chicken Tenders: A Game-Changing Recipe to Elevate Your Snack Game**

    I still remember the day I attempted to make crispy chicken tenders in my oven. The result was a sad, soggy mess that even my kids wouldn’t touch. It was then that I realized I needed a new approach – and that’s when I discovered the magic of air frying.

    In this post, we’ll dive into why this Air Fryer Crispy Chicken Tenders recipe is a game-changer, explore the ingredients you’ll need, and walk through the step-by-step process. Plus, I’ll share my top-secret trick to take your tenders to the next level.

    **Why This Recipe Works: Texture and Health**

    The key to achieving crispy chicken tenders without deep-frying lies in the air fryer’s ability to circulate hot air around the food. This results in a crunchy exterior and juicy interior, with minimal added fat. Unlike traditional frying methods, air frying uses little to no oil, making it a healthier option for your family.

    In this recipe, we’ll be using a combination of all-purpose flour, cornstarch, and panko breadcrumbs to create a crispy coating that’s both flavorful and textured. The result is a tender, mouthwatering snack that will satisfy even the pickiest eaters.

    **Ingredients:**

    * 1 pound boneless, skinless chicken breasts, cut into strips
    * 1 cup all-purpose flour
    * 2 tablespoons cornstarch
    * 1 cup panko breadcrumbs
    * 1 teaspoon paprika
    * 1/2 teaspoon garlic powder
    * 1/2 teaspoon salt
    * 1/4 teaspoon black pepper
    * 2 eggs
    * 1 cup buttermilk
    * Cooking spray or oil

    **Recommended Brands:**

    * All-purpose flour: Gold Medal or Bob’s Red Mill
    * Panko breadcrumbs: Italian-style from Progresso or Panko
    * Buttermilk: Cultured Buttermilk by Kraft or make your own (see below)

    **Substitutions:**

    * If you don’t have panko breadcrumbs, you can use regular breadcrumbs or even crushed crackers.
    * For a gluten-free option, substitute the all-purpose flour with almond flour or coconut flour.

    **Step-by-Step: A Friend’s Guide**

    1. **Prep the Chicken:** In a large bowl, whisk together the flour, cornstarch, paprika, garlic powder, salt, and pepper. Add the chicken strips and toss until they’re evenly coated.
    2. **Egg Wash:** In a separate bowl, whisk together the eggs and buttermilk. Dip each floured chicken strip into the egg wash, making sure it’s fully coated.
    3. **Bread the Chicken:** Roll the egg-coated chicken strip in the panko breadcrumbs, pressing gently to ensure they stick. Place the breaded tender on a plate or tray. Repeat with the remaining chicken strips.
    4. **Air Fryer Time:** Preheat your air fryer to 375°F (190°C). Spray the basket with cooking spray or oil. Add the breaded chicken tenders in batches, leaving some space between each piece for even cooking. Cook for 5-7 minutes, shaking halfway through.
    5. **Finish and Serve:** Remove the tenders from the air fryer and let them rest for a few minutes. Serve hot with your favorite dipping sauce or enjoy as is.

    **The “Secret Trick”:**

    To take your Air Fryer Crispy Chicken Tenders to the next level, try adding a pinch of baking powder to the breadcrumb mixture. This will help create an extra-crispy exterior that’s both surprising and delicious.

    **FAQs:**

    Q: Can I use other seasonings or herbs in the breadcrumb mixture?
    A: Absolutely! Feel free to add dried oregano, thyme, or even cayenne pepper to give your tenders a unique flavor.

    Q: How do I make my own buttermilk?
    A: Mix 1 cup of milk with 1 tablespoon of white vinegar or lemon juice. Let it sit for 5-10 minutes before using in the recipe.

    Q: Can I cook these tenders ahead of time and reheat them?
    A: Yes! Cook the tenders as instructed, then let them cool completely. Reheat them in the air fryer at 375°F (190°C) for an additional 2-3 minutes or until crispy again.

    In conclusion, this Air Fryer Crispy Chicken Tenders recipe is a must-try for anyone looking to elevate their snack game without sacrificing flavor or texture. With its easy-to-follow instructions and minimal ingredients, you’ll be enjoying crunchy, juicy tenders in no time – and with the added bonus of being healthier than traditional fried foods!

    **Give it a try and let me know your experience!

    📌 Pin This Recipe For Later!

    Air Fryer Crispy Chicken Tenders

    Save to Pinterest

    📌 Pin This Designed Recipe!

    Save to Pinterest

  • Air Fryer Crispy Chicken Tenders (Better Than KFC)

    Air Fryer Crispy Chicken Tenders (Better Than KFC)

    Air Fryer Crispy Chicken Tenders: A Game-Changer That Outshines KFC

    I still remember the day I attempted to make chicken tenders for my family. It was a Sunday afternoon, and I was feeling quite proud of myself for trying something new in the kitchen. But, as I took the oven-baked tenders out of the oven, my excitement quickly turned into disappointment. They were dry, flavorless, and completely lacking the crispy exterior I was hoping for.

    Fast forward to several months later, when I stumbled upon the world of air frying. I was intrigued by the promise of achieving that perfect crispiness without sacrificing moisture or health. And let me tell you, this game-changing technology has become a staple in my kitchen.

    Why This Recipe Works

    So, what sets these Air Fryer Crispy Chicken Tenders apart from your average takeout or oven-baked version? It’s all about texture and health. By using the air fryer, we can achieve that perfect crispiness without adding extra oil or calories. The result is a tender, juicy interior with an addictive crunch on the outside.

    Ingredients

    Here are the essential ingredients you’ll need to make this mouthwatering dish:

    * 1 pound boneless, skinless chicken breast or tenders
    * 1 cup all-purpose flour (I recommend using Bob’s Red Mill Gluten-Free 1:1 Baking Flour for a gluten-free option)
    * 1 teaspoon paprika (use sweet or smoked paprika depending on your preference)
    * 1/2 teaspoon garlic powder
    * 1/2 teaspoon onion powder
    * 1/2 teaspoon salt
    * 1/4 teaspoon black pepper
    * 1 cup buttermilk (or regular milk with 1 tablespoon white vinegar as a substitute)
    * 1 egg, beaten (for egg wash)
    * Cooking spray or olive oil for the air fryer basket

    Step-by-Step: A Simple Recipe to Follow

    Now that we have our ingredients ready, let’s get started! Here’s how you can make these crispy chicken tenders in just 5 easy steps:

    1. **Prepare the chicken**: Cut the chicken into tender-sized pieces and place them in a shallow dish.
    2. **Create the marinade**: In a separate bowl, whisk together the flour, paprika, garlic powder, onion powder, salt, and black pepper. Pour the mixture over the chicken, making sure each piece is fully coated.
    3. **Marinate the chicken**: Let the chicken sit for at least 30 minutes to an hour in the refrigerator or for up to 2 hours in the air-conditioned room. This step allows the flavors to penetrate the meat and helps with breading adhesion.
    4. **Air fry the chicken**: Preheat your air fryer to 400°F (200°C). Remove the chicken from the marinade, allowing any excess to drip off. Dip each piece into the beaten egg for an egg wash, then roll it in a plate of breadcrumbs until fully coated. Place the breading-coated chicken in the air fryer basket in a single layer, leaving some space between each piece.
    5. **Cook and crisp**: Cook the chicken tenders in batches if necessary, to avoid overcrowding the air fryer basket. Cook for 5-6 minutes or until they reach an internal temperature of 165°F (74°C). Shake the basket halfway through cooking to ensure even crisping. Remove the cooked tenders from the air fryer and spray with a small amount of cooking spray or olive oil.

    The “Secret Trick” that Takes it to the Next Level

    Here’s my pro-tip that sets these Air Fryer Crispy Chicken Tenders apart: **Pat dry the chicken before breading**. After marinating, gently pat each piece with a paper towel to remove any excess moisture. This step is crucial in ensuring the breading adheres properly and doesn’t fall off during cooking.

    FAQs

    Q: Can I use other seasonings or herbs instead of paprika?
    A: Absolutely! Feel free to experiment with different spices, herbs, or even a combination to create your unique flavor profile.

    Q: How do I store leftover chicken tenders?
    A: Allow the cooked tenders to cool completely before storing them in an airtight container in the refrigerator for up to 3 days. Reheat as needed or freeze for up to 2 months.

    Q: Can I make this recipe with other types of protein, like pork or turkey?
    A: Yes! Simply adjust the cooking time and temperature according to the protein’s thickness and internal temperature requirements.

    Conclusion:

    These Air Fryer Crispy Chicken Tenders are a game-changer that outshines even KFC. With their crispy exterior, juicy interior, and rich flavors, you’ll be hooked from the very first bite. The best part? You can make them healthier and more flavorful than traditional deep-fried or baked tenders. So go ahead, give this recipe a try, and experience the magic of air frying for yourself!

    📌 Pin This Recipe For Later!

    Air Fryer Crispy Chicken Tenders (Better Than KFC)

    Save to Pinterest

    📌 Pin This Designed Recipe!

    Save to Pinterest

  • The Best Crispy Air Fryer Smashed Potatoes (Ready in 20 Mins)

    The Best Crispy Air Fryer Smashed Potatoes (Ready in 20 Mins)

    The Best Crispy Air Fryer Smashed Potatoes (Ready in 20 Mins)

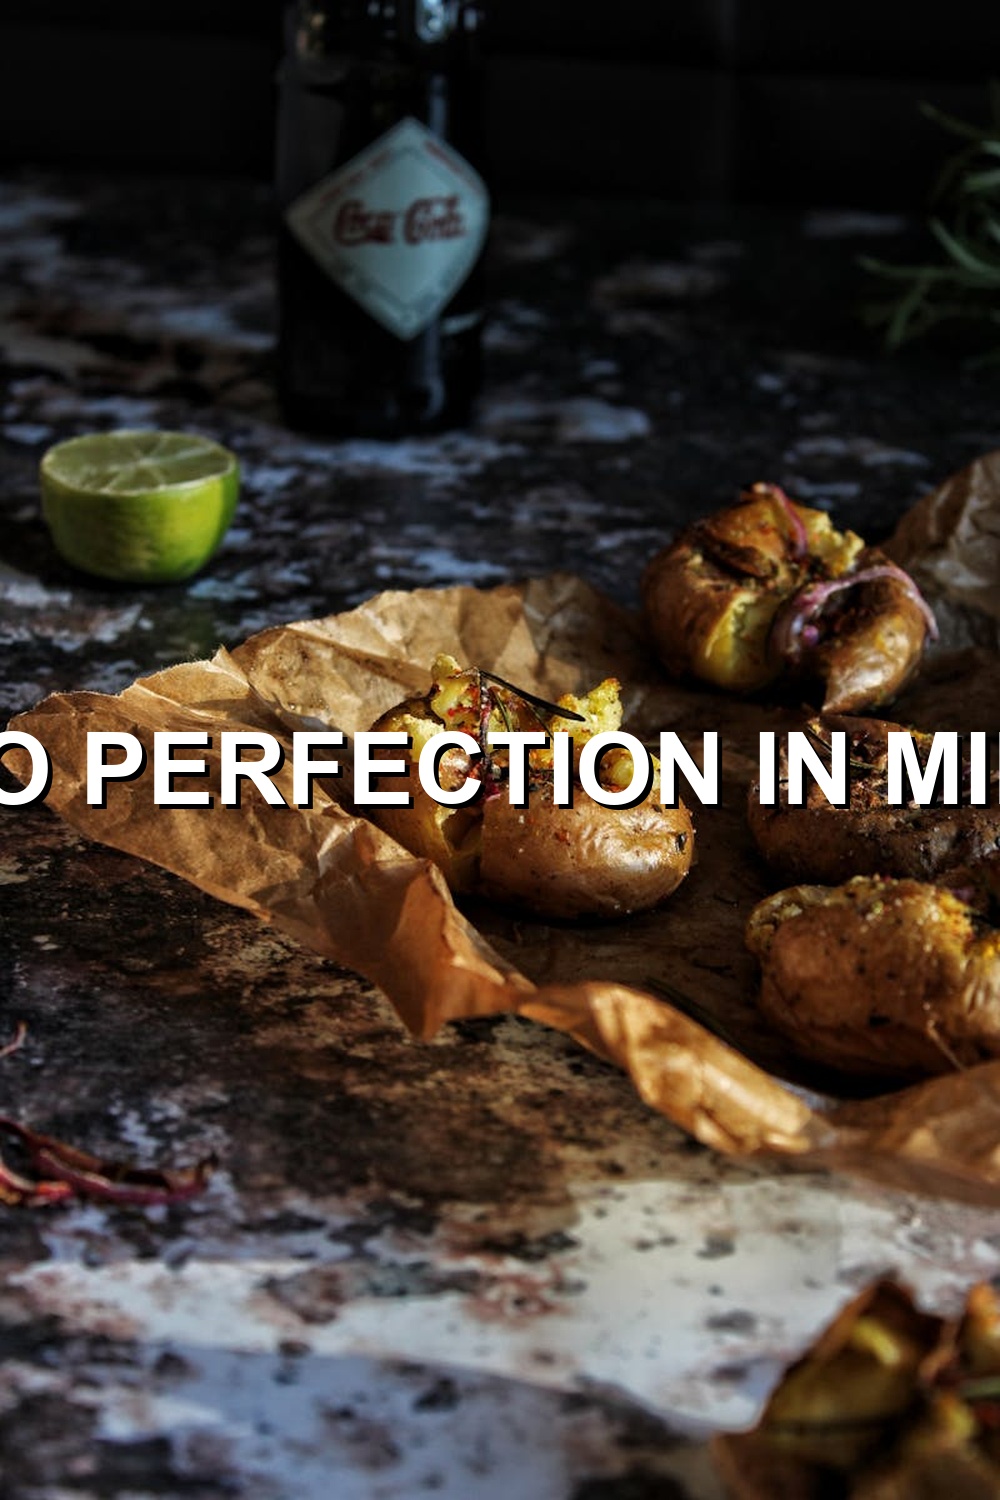
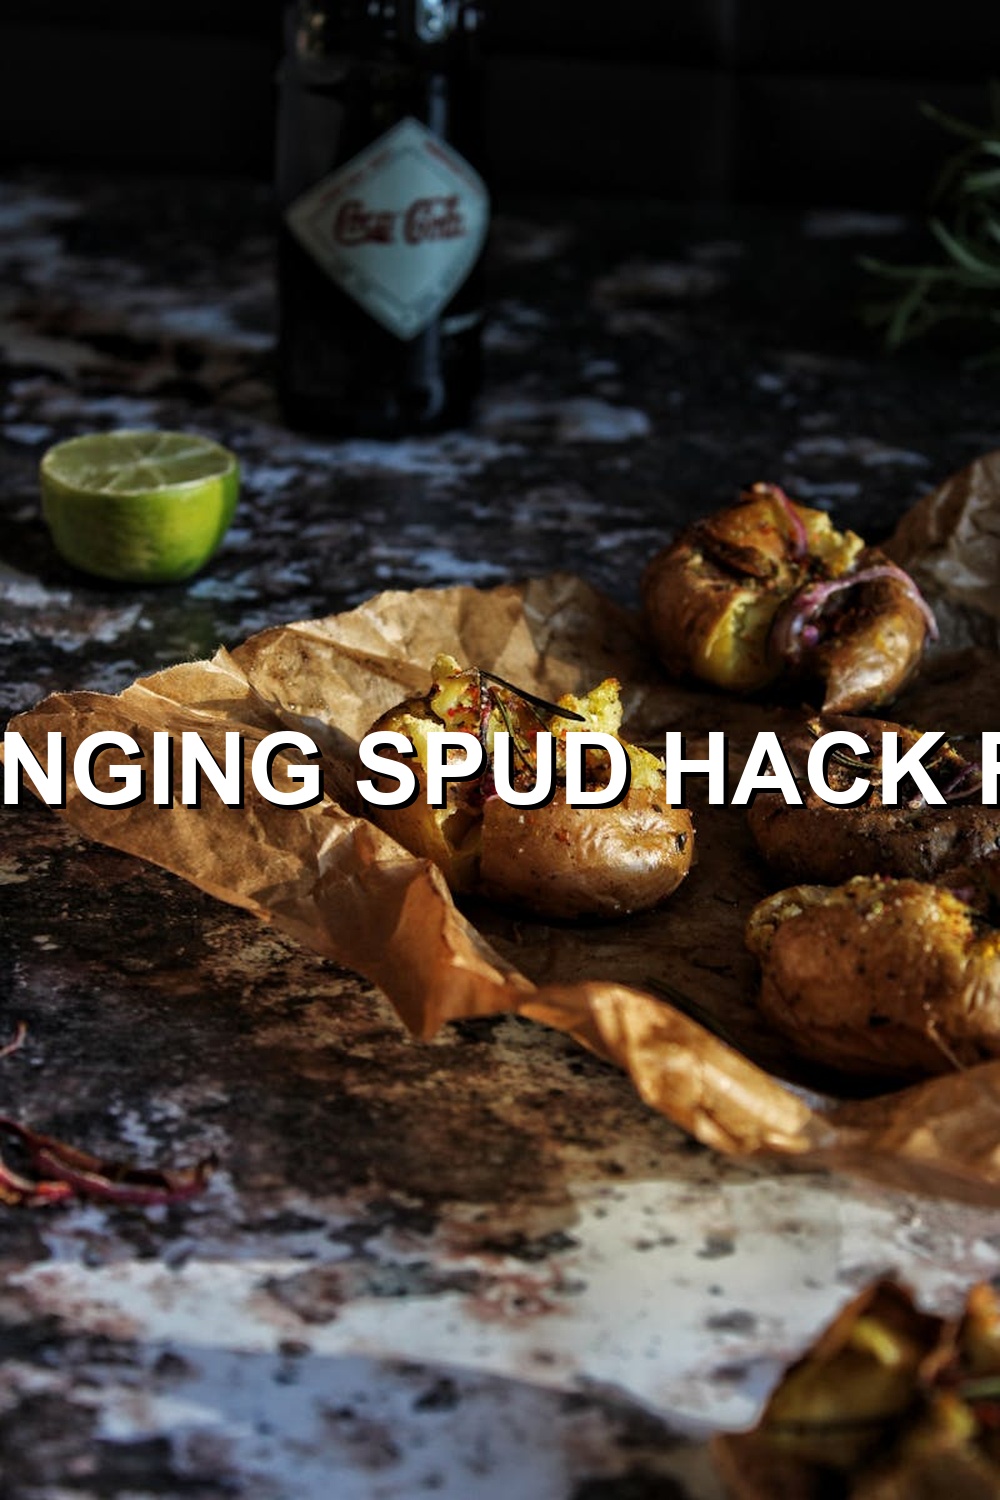
    I still remember the day I attempted to make smashed potatoes for a family dinner. I had high hopes, but what ended up on the plate was a sad, soggy mess. The thought of serving that to my loved ones was unbearable. That’s when I decided to take matters into my own hands and experiment with the Air Fryer.

    After countless trials and errors, I finally stumbled upon the perfect recipe for crispy air fryer smashed potatoes. In this post, I’ll share my secret to achieving a deliciously crunchy exterior while keeping the insides fluffy and tender – all within 20 minutes!

    Why This Recipe Works

    When it comes to making smashed potatoes, texture is key. You want that perfect balance of crunch and fluffiness in every bite. The Air Fryer allows for this by cooking the potatoes at a high temperature while circulating hot air around them. This results in a crispy exterior that’s almost impossible to achieve with traditional cooking methods.

    Not only do these smashed potatoes boast an unbeatable texture, but they’re also incredibly healthy. By using the Air Fryer instead of deep-frying, you reduce the calorie count significantly. Plus, the potatoes are cooked without any added oils or preservatives.

    Ingredients

    Here’s what you’ll need for this recipe:

    • 3-4 large Russet potatoes (I prefer Idaho or Yukon Gold for a slightly sweeter flavor)
    • Kosher salt, to taste
    • Paprika, for garnish (optional)
    • Air Fryer, of course!

    Feel free to substitute the potatoes with sweet potatoes or parsnips for a delicious variation. For a vegan option, simply omit the paprika and use a dairy-free alternative if needed.

    Step-by-Step: A Simple Recipe

    Now that you have your ingredients ready, let’s get started!

    1. Preheat your Air Fryer to 400°F (200°C). Yes, it’s hot!
    2. Scrub the potatoes clean and dry them with a paper towel.
    3. Using a fork or potato masher, smash each potato into desired thickness. I like mine around 1/4 inch (6 mm).
    4. Place the smashed potatoes in a single layer on the Air Fryer basket. You might need to cook them in batches depending on the size of your Air Fryer.
    5. Sprinkle both sides with kosher salt and any additional seasonings you prefer.
    6. Cook the potatoes for 10-12 minutes or until they reach your desired level of crispiness. Shake the basket halfway through for even cooking.
    7. Remove the potatoes from the Air Fryer and garnish with paprika, if desired.

    The “Secret Trick”: A Game-Changer

    Here’s what sets these smashed potatoes apart: the importance of temperature control. When you preheat your Air Fryer to 400°F (200°C), it creates a crispy exterior by rapidly cooking the outside layer. To achieve this, you’ll need to maintain that high temperature throughout the cooking process.

    To ensure the perfect crispiness, make sure to not overcrowd the basket and keep an eye on the temperature during the cooking time. If your Air Fryer has a temperature control feature, use it! Adjust as needed to maintain that magical 400°F (200°C).

    FAQs

    I’ve got you covered with some frequently asked questions:

    • Q: Can I use other types of potatoes? A: Absolutely! Sweet potatoes or parsnips will work beautifully. Just adjust cooking time and temperature accordingly.
    • Q: How do I get the perfect crispiness? A: Temperature control is key! Keep an eye on your Air Fryer’s temperature and adjust as needed to maintain that magical 400°F (200°C).
    • Q: Can I cook these potatoes ahead of time? A: Yes, but they’re best served fresh. If you must cook them ahead, let them cool completely before reheating in the Air Fryer or oven.

    In Conclusion

    These crispy air fryer smashed potatoes are a game-changer for any meal. With their perfect texture and flavor, they’re sure to become a family favorite. So, what are you waiting for? Get your Air Fryer out and start cooking up some deliciously crispy potatoes!

    📌 Pin This Recipe For Later!

    The Best Crispy Air Fryer Smashed Potatoes (Ready in 20 Mins)

    Save to Pinterest

    📌 Pin This Designed Recipe!

    Save to Pinterest

  • The Best Crispy Air Fryer Smashed Potatoes (Ready in 20 Mins)

    The Best Crispy Air Fryer Smashed Potatoes (Ready in 20 Mins)

    **The Best Crispy Air Fryer Smashed Potatoes (Ready in 20 Mins)**

    As a self-proclaimed cooking enthusiast, I’ve had my fair share of kitchen disasters. One such incident that still haunts me is the time I attempted to make roasted potatoes for a dinner party. The result? A batch of sad, soggy spuds that even the most adventurous eaters wouldn’t touch.

    Fast forward to today, and I’m thrilled to share with you my game-changing air fryer technique for creating the crispiest, most mouthwatering smashed potatoes in just 20 minutes!

    **Why This Recipe Works**

    The secret to these addictive Air Fryer Smashed Potatoes lies in the perfect blend of texture and health. By cooking the potatoes at a low temperature with minimal oil, we can achieve a satisfying crunch without sacrificing their natural sweetness or nutrient content.

    **Ingredients:**

    * 3-4 large Russet potatoes
    * 1 tablespoon olive oil (I recommend using **Chosen Foods Avocado Oil** for its mild flavor and high smoke point)
    * Salt, to taste
    * Optional: garlic powder, paprika, or your favorite seasonings

    Substitutions:

    * Sweet potatoes or Yukon Golds work well too!
    * If you don’t have olive oil, use a neutral-tasting oil like canola or grapeseed.

    **Step-by-Step:**

    1. **Preheat the Air Fryer**: Set your air fryer to 400°F (200°C). Yes, it’s hot! But trust me, this is crucial for that perfect crispiness.
    2. **Wash and dry those spuds**: Give your potatoes a good rinse under cold water, then gently scrub them with a vegetable brush to remove any dirt or debris. Dry the potatoes thoroughly using paper towels or a clean cloth to help them brown evenly in the air fryer.
    3. **Smash ’em**: Place a potato on a flat surface and gently smash it using a heavy object (like a meat tenderizer or a rolling pin) or your hands. Don’t overdo it – you want to retain some of that natural texture. Repeat with the remaining potatoes.
    4. **Season with love**: Sprinkle both sides of each smashed potato with salt and any additional seasonings you like (I’m a fan of garlic powder).
    5. **Load up the Air Fryer**: Place 2-3 smashed potatoes in a single layer in the air fryer basket, leaving some space between them for even cooking.
    6. **Cook to perfection**: Cook the potatoes at 400°F (200°C) for 10 minutes. Halfway through, shake the basket gently to redistribute the spuds and ensure even browning.
    7. **Check for crispiness**: After 10 minutes, check on your potatoes. If they need a bit more time, continue cooking in 2-minute increments until you achieve that perfect crispiness.

    **The “Secret Trick”**

    Here’s my pro-tip: To take these Air Fryer Smashed Potatoes to the next level, try sprinkling a pinch of cornstarch over them before cooking. This simple trick helps absorb excess moisture and enhances the potatoes’ natural sweetness – resulting in an even crisper exterior!

    **FAQs:**

    Q: Can I make these ahead of time?
    A: Yes! Cook the smashed potatoes until they’re almost done, then finish them off in the oven (around 200°F or 90°C) for a few minutes before serving.

    Q: How do I store leftover Air Fryer Smashed Potatoes?
    A: Let them cool completely, then transfer them to an airtight container. Store in the refrigerator for up to 3 days and reheat as needed in the air fryer or oven.

    Q: Can I use other seasonings or herbs?
    A: Absolutely! Experiment with your favorite flavors like chili powder, smoked paprika, or even fresh herbs like thyme or rosemary.

    Get ready to impress your friends and family with this mouthwatering Air Fryer Smashed Potato recipe. With its perfect blend of texture and health, you’ll be hooked from the very first bite!

    Try it out today and let me know in the comments how it turns out!

    📌 Pin This Recipe For Later!

    The Best Crispy Air Fryer Smashed Potatoes (Ready in 20 Mins)

    Save to Pinterest

    📌 Pin This Designed Recipe!

    Save to Pinterest

  • The Best Crispy Air Fryer Smashed Potatoes (Ready in 20 Mins)

    The Best Crispy Air Fryer Smashed Potatoes (Ready in 20 Mins)

    The Best Crispy Air Fryer Smashed Potatoes (Ready in 20 Mins)

    As a self-proclaimed food enthusiast, I’ve had my fair share of cooking triumphs and disasters. One such experience was when I attempted to make smashed potatoes for a family gathering. Let’s just say it didn’t quite turn out as planned. The result was a batch of mushy, flavorless potatoes that left everyone wondering if they were really potato-based.

    Fast-forward to my discovery of the air fryer, and everything changed! After some experimentation, I stumbled upon the secret to creating crispy, golden-brown smashed potatoes in under 20 minutes. And today, I’m excited to share this game-changing recipe with you.

    Why This Recipe Works

    So, what makes these air-fried smashed potatoes so special? For starters, they offer a perfect combination of texture and health. Gone are the days of deep-frying or boiling, which can result in soggy or greasy spuds. The air fryer’s magic lies in its ability to crisp up the potatoes while retaining their natural sweetness.

    Moreover, this recipe is an excellent way to indulge in the rich flavors and textures of smashed potatoes without compromising on your dietary goals. With minimal oil and no added preservatives, you can enjoy these crispy bites guilt-free!

    Ingredients

    Here’s what you’ll need for the best air fryer smashed potatoes:

    * 3-4 large Russet or Idaho potatoes
    * 1 tablespoon olive oil (use a high-quality brand like Bertolli)
    * 1/2 teaspoon salt (Himalayan pink salt is an excellent choice)
    * 1/4 teaspoon black pepper
    * 1/4 teaspoon garlic powder (optional, but trust me, it makes a difference!)
    * Fresh parsley or chives for garnish (optional)

    Substitutions and Tips

    Feel free to customize the recipe with your favorite seasonings or herbs. If you prefer a lighter flavor, simply omit the garlic powder.

    * For an extra crispy exterior, pat the potatoes dry with a paper towel before air-frying.
    * To make this recipe more substantial, try adding some grated Parmesan cheese or chopped cooked bacon bits on top of the potatoes before serving.

    Step-by-Step: A Friend’s Guide

    Now that you have the ingredients ready, let’s get started!

    1. Preheat your air fryer to 400°F (200°C).
    2. Scrub and peel the potatoes, then cut them into 1-inch (2.5 cm) cubes.
    3. In a large bowl, combine the potato cubes, olive oil, salt, black pepper, and garlic powder (if using). Toss until the potatoes are evenly coated.
    4. Line the air fryer basket with parchment paper or a non-stick mat for easy cleanup.
    5. Add the potato mixture to the air fryer basket in a single layer, leaving some space between each piece for even cooking.
    6. Cook the potatoes for 10-12 minutes at 400°F (200°C), shaking the basket halfway through.
    7. Once the potatoes are golden brown and crispy, remove them from the air fryer and let them cool slightly.

    The “Secret Trick”

    Here’s a pro-tip that sets this recipe apart: After cooking the potatoes, place the basket under the broiler for an additional 30-60 seconds to achieve that perfect, caramelized crunch. This step is crucial for achieving the signature crispy exterior and fluffy interior!

    FAQs

    Got questions? Here are some answers:

    Q: Can I use other types of potatoes?
    A: Yes! While Russet or Idaho potatoes work best, you can also try Yukon Gold or sweet potatoes.

    Q: How do I store leftover smashed potatoes?
    A: Keep them in an airtight container at room temperature for up to 2 days. Reheat them in the air fryer or oven before serving.

    Q: Can I make these smashed potatoes ahead of time?
    A: Yes, but it’s best to cook and assemble them just before serving. If you must prepare them ahead, cook the potatoes until they’re slightly undercooked, then refrigerate or freeze them until ready to finish cooking.

    Conclusion

    And there you have it – the ultimate air-fried smashed potato recipe! With this simple, 20-minute guide, you’ll be enjoying crispy, flavorful, and healthy spuds in no time. So go ahead, give it a try, and experience the magic of the air fryer for yourself!

    Happy cooking, and don’t forget to share your air-fried creations with me on social media!

    📌 Pin This Recipe For Later!

    The Best Crispy Air Fryer Smashed Potatoes (Ready in 20 Mins)

    Save to Pinterest

    📌 Pin This Designed Recipe!

    Save to Pinterest

  • Air Fryer Crispy Potatoes (The Viral TikTok Recipe)

    Air Fryer Crispy Potatoes (The Viral TikTok Recipe)

    Air Fryer Crispy Potatoes: The Viral TikTok Recipe

    I still remember the day I attempted to make crispy potatoes in the oven. I had high hopes, but what I got was a sad, limp mess. It was as if my potatoes had given up on life. I was determined to find a solution, and that’s when I stumbled upon the air fryer.

    Why This Recipe Works

    Let me tell you why this recipe has taken over TikTok: it’s all about texture and health. Who says you can’t have your cake (or potatoes) and eat it too? These crispy potatoes are cooked to perfection in just a few minutes, without sacrificing any of their natural goodness.

    Ingredients:

    • 4-6 medium-sized potatoes
    • 1 tablespoon olive oil
    • 1 teaspoon salt
    • 1/2 teaspoon black pepper
    • Optional: garlic powder, paprika, or any other seasonings you like!
    • I recommend using Russet potatoes for the best results. If you can’t find Russets, Yukon Golds or Idaho potatoes will work just as well.

    Step-by-Step:

    Slice your potatoes into thin rounds, about 1/8 inch thick. You want them to be even and uniform so that they cook evenly in the air fryer.

    1. Rinse your potato slices under cold water to remove any excess starch. This step is crucial for achieving that crispy exterior!
    2. Pat the potatoes dry with a paper towel to remove any excess moisture.
    3. In a large bowl, toss your potatoes with olive oil, salt, and black pepper until they’re evenly coated. You can also add some garlic powder or paprika if you like a little extra flavor!
    4. Preheat your air fryer to 400°F (200°C). If you have a basket-type air fryer, make sure it’s clean and ready for use.
    5. Load the potatoes into the air fryer in batches, if necessary. You don’t want to overcrowd the basket, as this can prevent the potatoes from cooking evenly.
    6. Cook your potatoes for 10-12 minutes, or until they’re golden brown and crispy. Flip them halfway through cooking to ensure even cooking.

    The “Secret Trick”:

    Here’s what sets this recipe apart: the single most important step that no one else mentions is to use a paper towel to remove excess moisture from your potatoes before cooking! This ensures that your potatoes cook evenly and don’t steam instead of crisp up. It might seem like a small detail, but trust me, it makes all the difference!

    FAQs:

    • Can I use other types of potatoes? Yes! While Russet potatoes work best for this recipe, Yukon Golds and Idaho potatoes will also yield great results. Just keep in mind that different potato varieties might have slightly different cooking times.
    • How do I get crispy potatoes with no browning? If you prefer a lighter color or want to avoid the potatoes getting too dark, try reducing the cooking time by 2-3 minutes and keeping an eye on them. You can also adjust the temperature of your air fryer accordingly.
    • Can I make this recipe ahead of time? Yes! Cooked potato slices will keep in an airtight container at room temperature for up to 24 hours or in the fridge for up to 3 days. Simply reheat them in the air fryer before serving.

    So, there you have it – the viral TikTok recipe that’s taken the world by storm! With this simple yet game-changing hack, you’ll never settle for soggy or bland potatoes again. Get ready to level up your snack game and join the crispy potato revolution!

    📌 Pin This Recipe For Later!

    Air Fryer Crispy Potatoes (The Viral TikTok Recipe)

    Save to Pinterest

    📌 Pin This Designed Recipe!

    Save to Pinterest