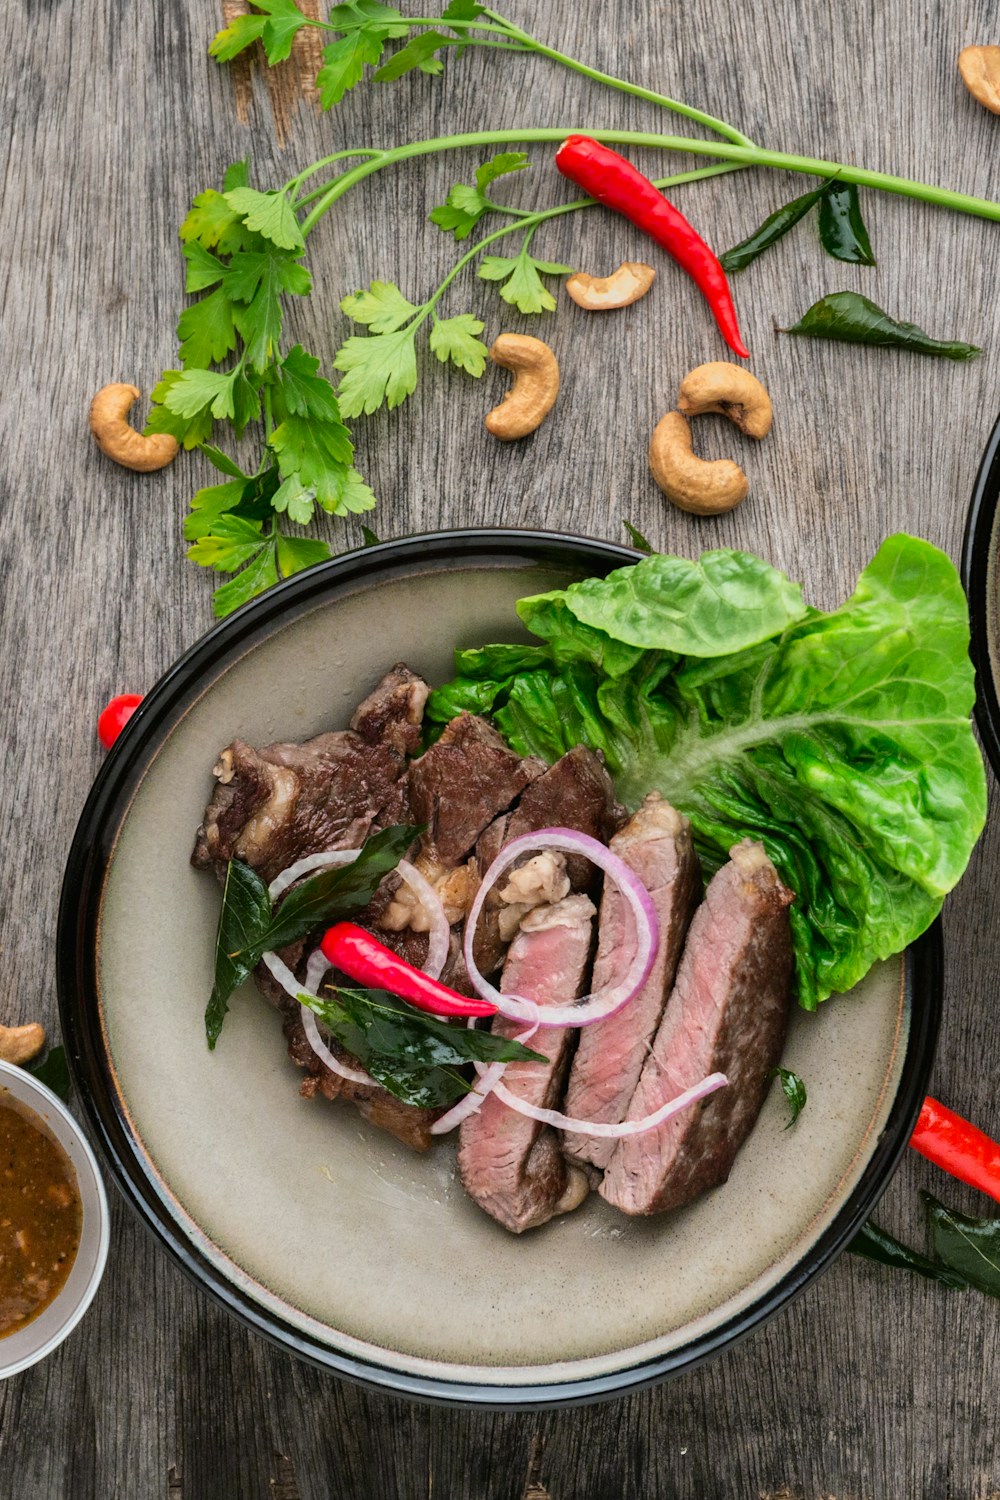
Spicy Tuna Crispy Rice (2026 Viral Recipe). This recipe has gone viral for a reason: it’s quick, easy, and incredibly delicious.
Below you will find the step-by-step instructions to make this amazing dish at home.
Introduction
Get ready to ignite your taste buds with our mouth-watering Spicy Tuna Crispy Rice recipe! This delectable dish is a perfect blend of Japanese and Korean flavors, combining the freshness of sashimi-grade tuna with the crunchiness of crispy rice. Whether you’re a foodie or just looking for a quick and easy meal, this recipe is sure to become a new favorite.
Ingredients
- 1 cup cooked Japanese short-grain rice (preferably Koshihikari or Akita Komachi)
- 1/4 cup Gochujang (Korean chili paste)
- 2 tablespoons soy sauce
- 2 tablespoons rice vinegar
- 1 tablespoon sesame oil
- 1 teaspoon grated ginger
- 1/2 teaspoon garlic, minced
- 1/4 teaspoon red pepper flakes (optional)
- 1 can of sashimi-grade tuna (about 6 oz), drained and flaked
- 1/4 cup chopped scallions, for garnish
- Salt and black pepper, to taste
Step-by-Step Instructions
1. Preheat your oven to 375°F (190°C).
2. In a large mixing bowl, combine the cooked Japanese short-grain rice, Gochujang, soy sauce, rice vinegar, sesame oil, grated ginger, and garlic. Mix well until all the ingredients are fully incorporated.
3. Divide the rice mixture into small portions, about 1/4 cup each. Shape each portion into a cylindrical shape using your hands or a mold.
4. Place the shaped rice cylinders onto a baking sheet lined with parchment paper. Drizzle a little sesame oil over the rice to prevent sticking.
5. Bake the rice in the preheated oven for 10-12 minutes, or until it becomes crispy and golden brown.
6. While the rice is baking, prepare the tuna by mixing it with a squeeze of fresh lime juice and a pinch of salt. Set aside.
7. Once the rice is done, remove it from the oven and let it cool slightly.
8. Assemble the Spicy Tuna Crispy Rice by placing a baked rice cylinder on a plate, followed by a spoonful of tuna, and finishing with some chopped scallions on top.
9. Drizzle any remaining sesame oil and soy sauce over the dish for added flavor and texture.
Pro Tips for Success
* For an extra crispy exterior, you can pan-fry the baked rice cylinders in a little sesame oil until golden brown. Be cautious not to burn them!
* To ensure the tuna stays fresh and sashimi-grade, handle it gently and store it in the refrigerator at 40°F (4°C) or below.
* Experiment with different levels of spiciness by adjusting the amount of Gochujang or adding more red pepper flakes. It’s up to you how spicy you like it!
* Consider using other types of fish, such as salmon or yellowtail, if you prefer a stronger flavor.
Frequently Asked Questions
Q: What type of rice is best for this recipe?
A: Japanese short-grain rice, specifically Koshihikari or Akita Komachi, works wonderfully due to its sticky texture and ability to hold its shape.
Q: Can I make the Spicy Tuna Crispy Rice ahead of time?
A: Yes! Prepare the rice mixture up to a day in advance, but cook the rice just before serving. Store leftover tuna in an airtight container at 40°F (4°C) or below for up to 2 days.
Q: Can I substitute the Gochujang with other chili paste or sauce?
A: While you can experiment with different chili pastes or sauces, keep in mind that Gochujang provides a distinct umami flavor and spiciness. If you choose to substitute it, start with a small amount and adjust to taste.
Q: How do I store leftover Spicy Tuna Crispy Rice?
A: Store leftover rice at room temperature for up to 2 days or refrigerate it for up to 3 days. Reheat the rice gently in the oven or microwave before serving.
📢 Join Our Foodie Community!
Love these recipes? Follow us for more daily inspiration and kitchen hacks:
- 📌 Follow on Pinterest: Snapytasty Viral Recipes
- 💬 Chat on Reddit: u/yuumrecipes
💡 Pro Tips for Perfect Air Frying
- Space is Key: Don’t overcrowd the basket for max crispiness. 🌬️
- Preheat: A preheated air fryer gives better results. 🔥
- Shake: Flip halfway for even browning. 🔄
💡 Master Your Air Fryer: Pro Tips
- Airflow: Don’t crowd the basket. 🌬️
- Preheat: 3-5 mins for best results. 🔥
- Shake: Flip halfway for even browning. 🔄
Why You Should Use an Air Fryer for This Recipe
Using an air fryer is a game-changer for this recipe. Unlike traditional frying, it uses up to 95% less oil, making your meal significantly healthier without sacrificing that delicious crunch. Plus, it is faster than a conventional oven and doesn’t heat up your entire kitchen.
Pro Tips for Perfection
- Don’t Overcrowd: Always cook in a single layer to ensure the hot air circulates evenly.
- Preheat: Taking 3 minutes to preheat your air fryer ensures the food starts cooking immediately for a crispier texture.
- Shake It: Shake the basket halfway through cooking to ensure even browning on all sides.
How to Store and Reheat
If you have leftovers (which is rare!), store them in an airtight container in the refrigerator for up to 3 days. To reheat, simply pop them back in the air fryer at 350°F for 3-4 minutes until they are crispy again. Do not use a microwave, as it will make them soggy.
🔥 Join Our Viral Foodie Community!
Don’t miss out on the latest air fryer trends. Follow us now:
📌 Pin This Recipe!
Save to your Air Fryer board.