Philly Cheesesteak Sliders (2026 Viral Recipe). This recipe has gone viral for a reason: it’s quick, easy, and incredibly delicious.
Below you will find the step-by-step instructions to make this amazing dish at home.
Introduction
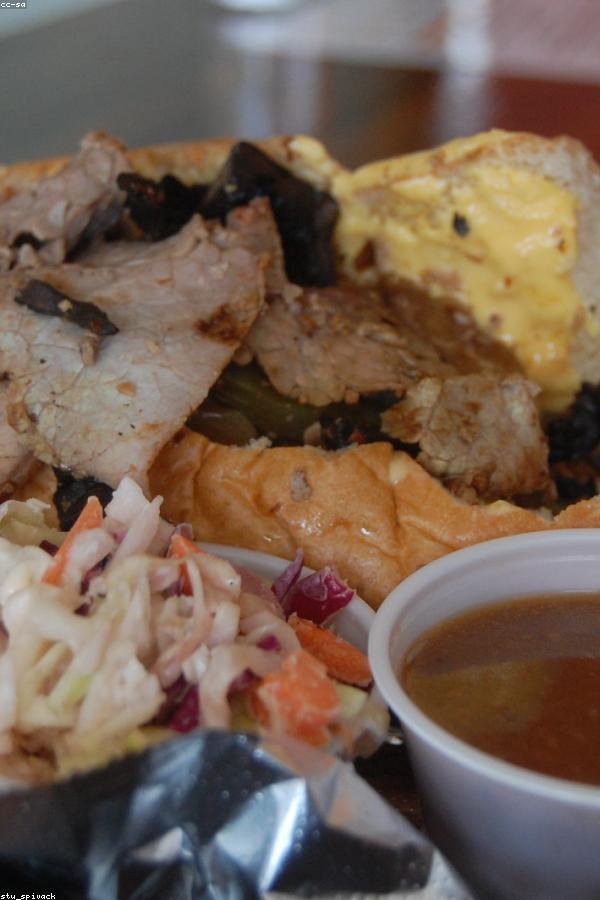
Get ready to take your taste buds on a trip down the East Coast with these mouthwatering Philly Cheesesteak Sliders! These bite-sized beauties are the perfect combination of tender beef, gooey cheese, and crispy bread. Whether you’re a local Philadelphian or just a cheesesteak aficionado, these sliders are sure to satisfy your cravings.
Inspired by the iconic Philly cheesesteak sandwich, these mini versions pack all the flavor and excitement into a compact package. With their easy-to-make simplicity and crowd-pleasing appeal, they’re perfect for game days, parties, or just a quick snack.
So grab your apron, preheat your grill or skillet, and get ready to serve up some serious sliders!
Ingredients
- 1 pound thinly sliced ribeye or top round steak
- 4 hamburger buns (preferably hoagie-style)
- 4 slices of American cheese (or your preferred melty cheese)
- 1/4 cup sautéed onions
- 2 cloves garlic, minced
- 1 tablespoon olive oil
- Salt and pepper to taste
- Fresh parsley or chives for garnish (optional)
Step-by-Step Instructions
1. **Prepare the steak**: Slice the beef into thin strips, about 1/8 inch thick. Season with salt and pepper on both sides.
2. **Heat the skillet**: Preheat a large skillet or grill pan over medium-high heat. Add the olive oil and swirl it around to coat the bottom.
3. **Sear the steak**: Add the beef slices to the skillet and cook for 3-4 minutes per side, or until they reach your desired level of doneness. Transfer the cooked steak to a plate and let it rest for a few minutes.
4. **Assemble the sliders**: Slice each piece of steak into smaller strips, about 1 inch long. Divide the cheese slices in half, so you have two pieces per slider. Place one piece of cheese on the bottom bun, followed by a few strips of beef, and finally a spoonful of sautéed onions.
5. **Add the top**: Top each slider with another piece of cheese, then place the top bun on.
6. **Repeat and serve**: Repeat the process for the remaining sliders and serve immediately.
Pro Tips for Success
* For an added layer of flavor, sauté some sliced mushrooms or bell peppers along with the onions to add to your sliders.
* To keep the cheese melted and gooey, place a piece of aluminum foil over the top bun while you’re assembling the sliders. This will help trap the heat and keep everything warm and melty.
* Don’t be afraid to get creative with your toppings! Try adding some crumbled bacon, diced jalapeños, or even a dollop of spicy mustard for an extra kick.
Frequently Asked Questions
Q: Can I use leftover steak for these sliders?
A: Absolutely! In fact, using leftover steak can be a great way to repurpose it and avoid food waste. Just make sure the steak is still relatively warm or at room temperature before assembling the sliders.
Q: What’s the best way to store leftovers?
A: For the most part, you’ll want to store the assembled sliders in an airtight container in the refrigerator for up to 24 hours. If you’ve stored the cooked steak separately, it should keep for 3-5 days in the fridge or up to 2 months in the freezer.
Q: Can I make these sliders ahead of time?
A: While it’s technically possible to assemble and store the sliders ahead of time, they’re best served fresh. The cheese will start to melt and become soggy if left for too long, so it’s best to assemble them just before serving.
📢 Join Our Foodie Community!
Love these recipes? Follow us for more daily inspiration and kitchen hacks:
- 📌 Follow on Pinterest: Snapytasty Viral Recipes
- 💬 Chat on Reddit: u/yuumrecipes
💡 Pro Tips for Perfect Air Frying
- Space is Key: Don’t overcrowd the basket for max crispiness. 🌬️
- Preheat: A preheated air fryer gives better results. 🔥
- Shake: Flip halfway for even browning. 🔄
💡 Master Your Air Fryer: Pro Tips
- Airflow: Don’t crowd the basket. 🌬️
- Preheat: 3-5 mins for best results. 🔥
- Shake: Flip halfway for even browning. 🔄
Why You Should Use an Air Fryer for This Recipe
Using an air fryer is a game-changer for this recipe. Unlike traditional frying, it uses up to 95% less oil, making your meal significantly healthier without sacrificing that delicious crunch. Plus, it is faster than a conventional oven and doesn’t heat up your entire kitchen.
Pro Tips for Perfection
- Don’t Overcrowd: Always cook in a single layer to ensure the hot air circulates evenly.
- Preheat: Taking 3 minutes to preheat your air fryer ensures the food starts cooking immediately for a crispier texture.
- Shake It: Shake the basket halfway through cooking to ensure even browning on all sides.
How to Store and Reheat
If you have leftovers (which is rare!), store them in an airtight container in the refrigerator for up to 3 days. To reheat, simply pop them back in the air fryer at 350°F for 3-4 minutes until they are crispy again. Do not use a microwave, as it will make them soggy.
🔥 Join Our Viral Foodie Community!
Don’t miss out on the latest air fryer trends. Follow us now:
📌 Pin This Recipe!
Save to your Air Fryer board.