Blog

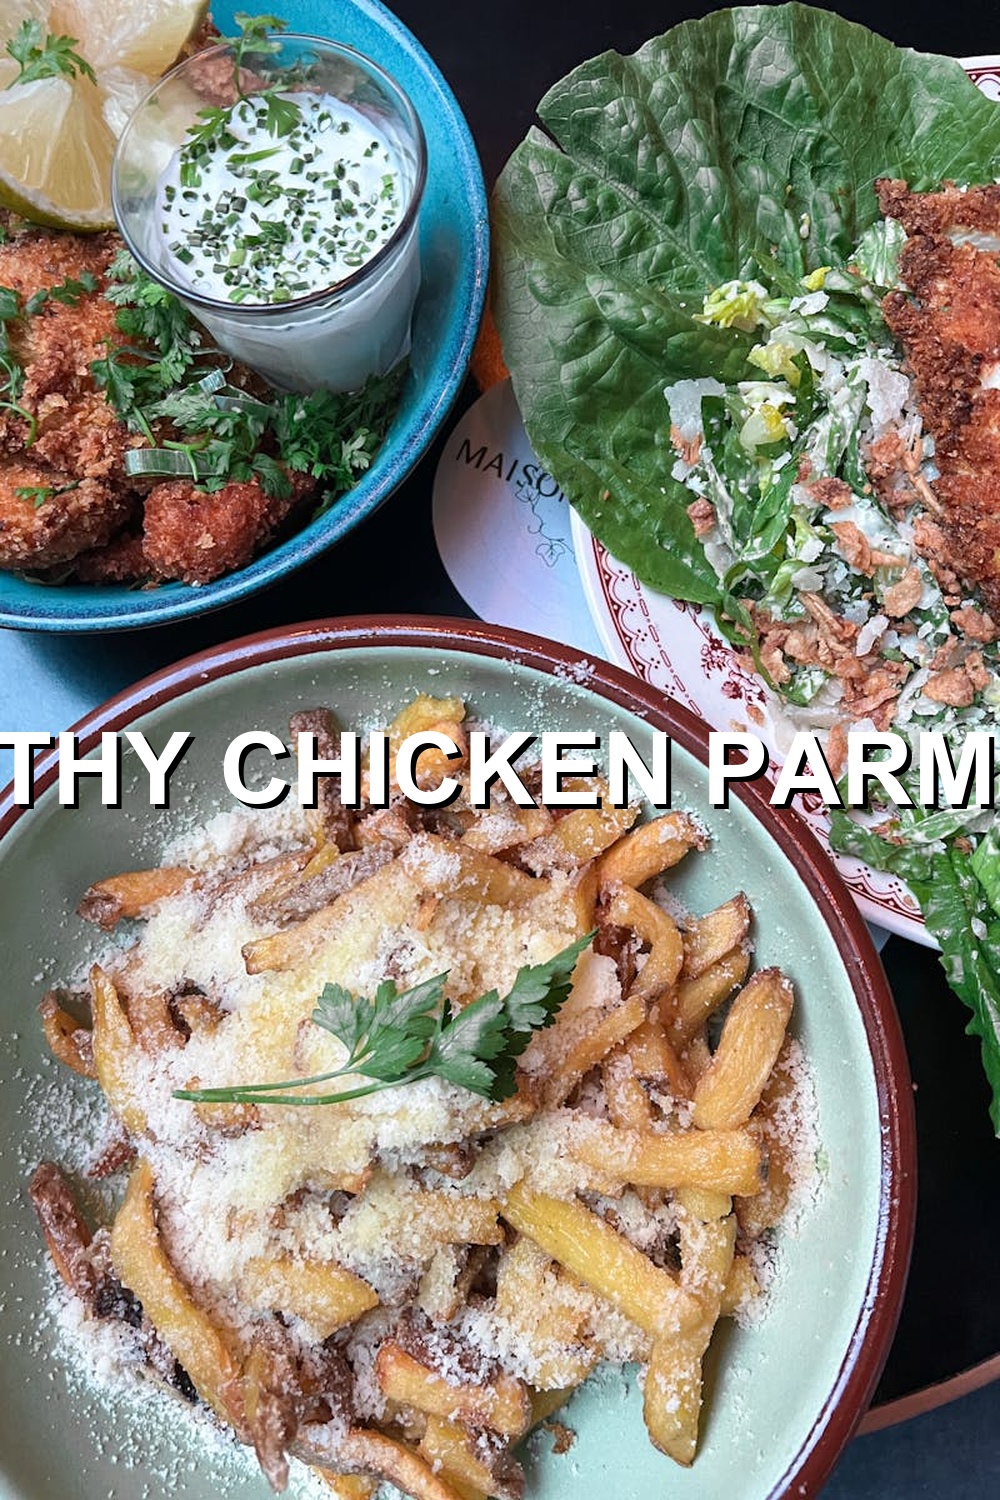
  • Air Fryer Chicken Parmesan

    Air Fryer Chicken Parmesan

    Air Fryer Chicken Parmesan: A Game-Changing Recipe

    I still remember the night I tried to make chicken parmesan in the oven. It was a disaster. The breading fell off, the cheese wasn’t melted, and the chicken was dry. My family politely declined seconds (and even thirds). I was left feeling defeated and wondering how something so simple could go so wrong.

    Fast forward a few months, and I stumbled upon the world of air frying. I had heard great things about its ability to produce crispy food without all the extra oil. Skeptical at first, I decided to give it a try with chicken parmesan. And oh boy, was I blown away!

    Why This Recipe Works

    This air fryer chicken parmesan recipe is a game-changer because of its perfect balance of texture and health. The air fryer produces a crispy exterior that’s comparable to deep-frying, but with much less oil. Meanwhile, the inside remains juicy and tender.

    But what really sets this recipe apart is its ability to satisfy your cravings while still being relatively healthy. By using whole-wheat breadcrumbs and reducing the amount of cheese needed for melting, you can enjoy a delicious meal without feeling too guilty.

    Ingredients

    Here’s what you’ll need:

    * 4 boneless, skinless chicken breasts
    * 1 cup whole-wheat breadcrumbs (I recommend Panko brand)
    * 1/2 cup grated mozzarella cheese (try using part-skim milk for a healthier option)
    * 1/4 cup chopped fresh parsley
    * 2 cloves garlic, minced
    * 1 egg, beaten
    * 1 cup marinara sauce (homemade or store-bought)
    * Salt and pepper to taste
    * Cooking spray or oil for the air fryer basket

    Step-by-Step Instructions

    Now that you have your ingredients, let’s get started!

    1. Preheat your air fryer to 400°F (200°C).
    2. In a shallow dish, mix together breadcrumbs and parsley.
    3. In a separate dish, beat the egg.
    4. Dip each chicken breast into the beaten egg, coating completely, then roll in the breadcrumb mixture to coat. Place coated chicken breasts on a plate or tray.
    5. Spray the air fryer basket with cooking spray or oil to prevent sticking.
    6. Add 2-3 chicken breasts to the air fryer basket (depending on size). You may need to cook them in batches if your air fryer isn’t large enough.
    7. Cook the chicken for 10 minutes at 400°F (200°C).
    8. Remove the chicken from the air fryer and place it on a baking sheet lined with parchment paper. Drizzle marinara sauce over each breast, followed by sprinkling mozzarella cheese on top.
    9. Place the baking sheet under the broiler for 2-3 minutes, or until cheese is melted and bubbly.
    10. Repeat the cooking process with any remaining chicken breasts.

    The “Secret Trick”!

    Here’s a pro-tip that will take your air fryer chicken parmesan to the next level: Use a silicone spatula to gently lift and separate the chicken breasts as they cook in the air fryer. This helps ensure even cooking and prevents them from sticking together.

    FAQs

    Q: Can I use different seasonings or herbs on my breadcrumbs?
    A: Absolutely! Feel free to add dried oregano, basil, or thyme to give your chicken parmesan an extra boost of flavor.

    Q: Do I need to press the breadcrumbs onto the chicken for them to stick?
    A: No way! The egg and breadcrumb mixture will adhere to the chicken just fine. Just make sure to coat it evenly.

    Q: Can I cook the chicken in batches if my air fryer isn’t large enough?
    A: Yes, you can definitely cook the chicken in batches. Just keep an eye on them and adjust cooking time as needed.

    Q: How long does this recipe take from start to finish?
    A: This recipe should take around 30-40 minutes to complete, depending on how quickly your air fryer cooks. You can also prep the breadcrumbs and egg mixture ahead of time to save some extra time.

    I hope you enjoy this game-changing air fryer chicken parmesan recipe as much as I do! With its perfect balance of texture and health, it’s a dish that’s sure to become a staple in your household. Happy cooking!

    📌 Pin This Recipe For Later!

    Air Fryer Chicken Parmesan

    Save to Pinterest

    📌 Pin This Designed Recipe!

    Save to Pinterest

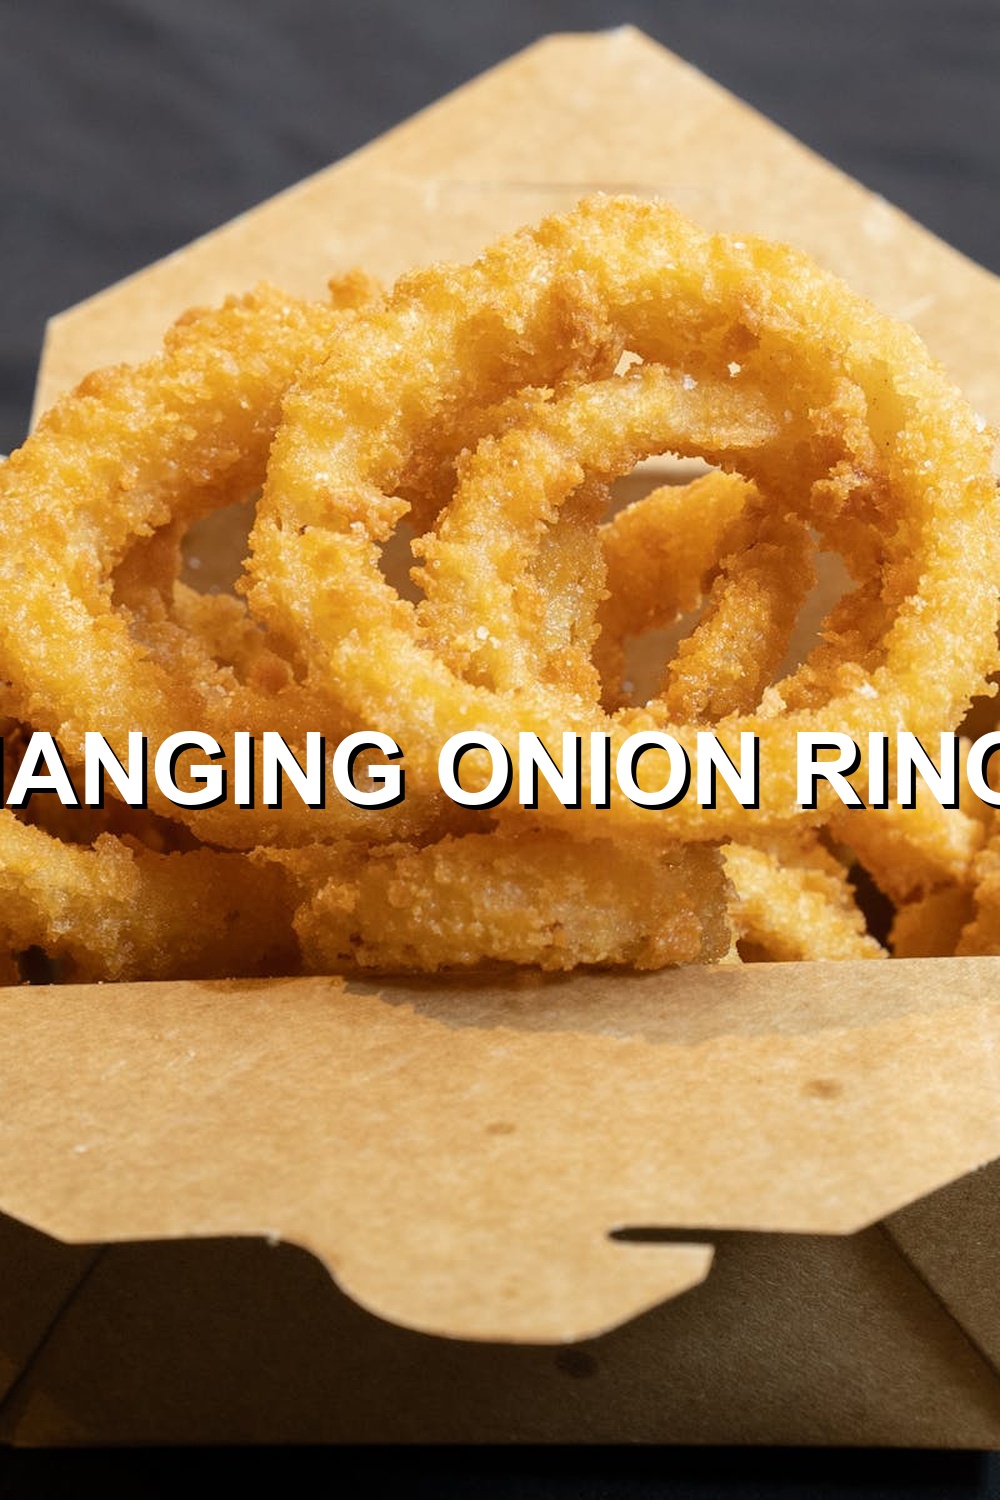
  • Air Fryer Onion Rings

    Air Fryer Onion Rings

    Air Fryer Onion Rings: A Game-Changing Recipe to Revive Your Cravings

    As a food enthusiast, I’ve always been on the lookout for ways to satisfy my cravings without sacrificing flavor or texture. But let’s be real – some recipes just don’t live up to our expectations. Like that one time when I tried making onion rings from scratch… only to end up with a batch of burnt, oily, and utterly disappointing snacks.

    Determined to perfect the art of onion ring-making, I turned to my trusty Air Fryer. And boy, am I glad I did! With this simple yet genius recipe, you’ll be enjoying crispy, golden-brown onion rings that are not only delicious but also surprisingly healthy.

    The Secret to Perfect Onion Rings: Texture and Health

    When it comes to onion rings, texture is everything. You want them to be crunchy on the outside and tender on the inside – no easy feat when you’re working with delicate onions. But fear not, friends! The Air Fryer’s unique combination of hot air and rapid circulation ensures that your onion rings will emerge from the cooking process with the perfect balance of texture.

    And let’s not forget about health. Onion rings are often associated with deep-frying, which can be a major calorie bomb. By using the Air Fryer, you’ll enjoy all the flavor and crunch without the added guilt. Your taste buds (and your waistline) will thank you!

    What You’ll Need:

    • 1 large onion, thinly sliced into rings
    • 1 cup all-purpose flour
    • 1/2 teaspoon paprika
    • 1/4 teaspoon garlic powder
    • 1/4 teaspoon salt
    • 1/4 teaspoon black pepper
    • 1 egg, beaten (any brand will do)
    • Air Fryer cooking spray or non-stick spray
    • Optional: Additional seasonings of your choice (e.g., chili powder, cumin, etc.)

    The Step-by-Step Process:

    Now that you have all the ingredients, it’s time to get cooking! Follow these simple steps:

    1. In a large bowl, whisk together flour, paprika, garlic powder, salt, and black pepper.
    2. Dip each onion ring into the beaten egg, coating it lightly, then roll it in the flour mixture to coat. Place the coated onion ring on a plate or tray.
    3. Repeat the process until all the onion rings are coated. You may need to adjust the amount of flour depending on how well they stick together.
    4. Preheat your Air Fryer to 375°F (190°C).
    5. Lightly spray the bottom of the Air Fryer basket with cooking spray or non-stick spray. Arrange a single layer of onion rings in the basket, leaving some space between each ring for even cooking.
    6. Cook the onion rings for 12-15 minutes, shaking the basket halfway through. You may need to adjust the cooking time depending on your specific Air Fryer model and personal preference.
    7. Once cooked, remove the onion rings from the Air Fryer and place them on a paper towel-lined plate to drain any excess moisture.

    The “Secret Trick”: A Pro-Tip to Take Your Onion Rings to the Next Level

    Here’s what sets this recipe apart: pat dry your onion rings with a paper towel before cooking. This simple step ensures that excess moisture doesn’t prevent the Air Fryer from working its magic. Trust me, it makes all the difference!

    Frequently Asked Questions:

    Q: Can I use a different type of flour or add extra seasonings to the coating?
    A: Absolutely! Experiment with different types of flour (e.g., whole wheat, almond) and add your favorite herbs or spices to give the onion rings an extra boost of flavor.

    Q: How do I store leftover onion rings?
    A: Store them in an airtight container at room temperature for up to 3 days. Reheat in the Air Fryer or oven when you’re ready to enjoy them again!

    There you have it – a game-changing recipe that will revolutionize your snacking habits and leave you wondering how you ever lived without your trusty Air Fryer!

    📌 Pin This Recipe For Later!

    Air Fryer Onion Rings

    Save to Pinterest

    📌 Pin This Designed Recipe!

    Save to Pinterest

  • Air Fryer Zucchini Chips

    Air Fryer Zucchini Chips

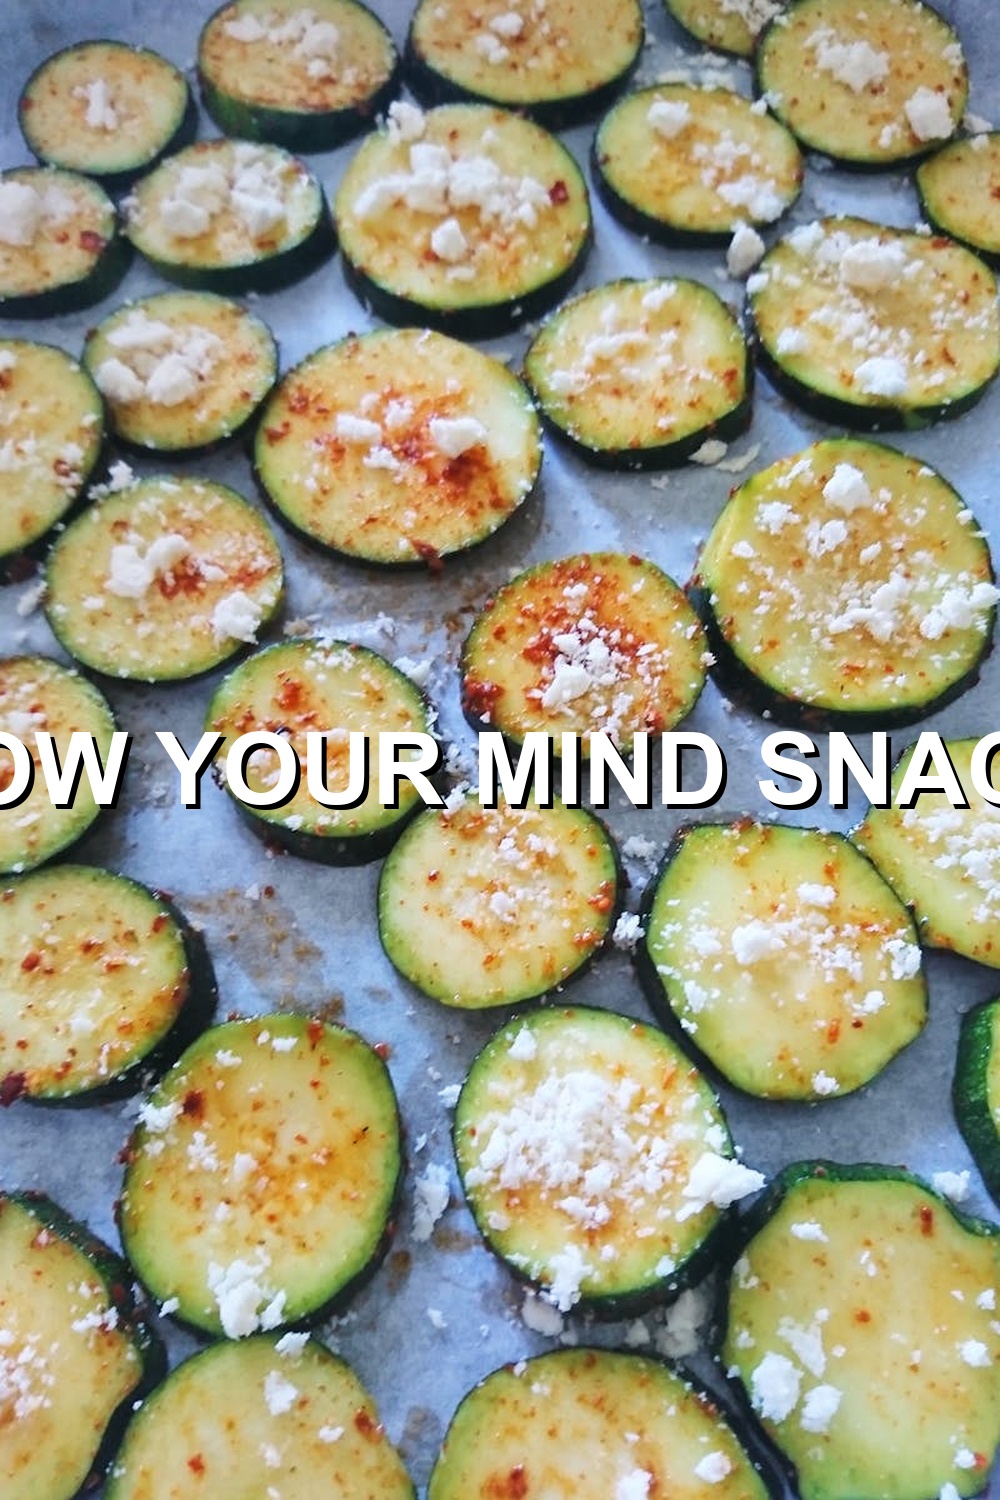
    **Air Fryer Zucchini Chips: A Game-Changing Snack Recipe**

    As a self-proclaimed foodie and cooking enthusiast, I’ve had my fair share of kitchen failures. Who hasn’t, right? But one particular incident still makes me chuckle – the great zucchini chip catastrophe.

    I was trying to make traditional fried zucchini chips using a pan filled with hot oil. Sounds simple enough, but what ensued was a mess of epic proportions. The zucchinis sizzled and splattered, leaving behind a greasy, sticky film on my stovetop. Not exactly the snack I had in mind. That’s when I decided to give up on deep-frying and explore other options.

    Fast-forward to the world of Air Fryer magic! With its unparalleled ability to produce crispy, golden-brown treats with minimal oil, it was only a matter of time before I stumbled upon this incredible recipe for Air Fryer Zucchini Chips. And let me tell you – game. Changer.

    **Why This Recipe Works: Texture and Health**

    So, what makes these zucchini chips so special? For starters, the texture is sublime. The Air Fryer’s precise temperature control and rapid air circulation allow the zucchinis to achieve a satisfying crunch without sacrificing any of their natural sweetness. And let’s not forget about the health benefits – by using this low-calorie cooking method, you’ll be indulging in a snack that’s not only delicious but also guilt-free.

    **Ingredients:**

    * 2 medium-sized zucchinis
    * 1/4 cup olive oil (I recommend using **California Olive Ranch** Extra Virgin Olive Oil for its rich flavor and high-quality standards)
    * 1 tablespoon lemon juice (use **Lundberg Organic Lemon Juice** for a burst of citrus freshness)
    * Salt, to taste (try **Maldon Sea Salt Flakes** for added depth and complexity)
    * Optional: Garlic powder or dried herbs like thyme or oregano for added flavor

    **Step-by-Step:**

    1. Preheat your Air Fryer to 375°F (190°C). Yes, you read that right – a temperature this low allows the zucchinis to cook evenly and prevents them from becoming too dark.
    2. Slice the zucchinis into thin rounds, about 1/8 inch thick. Try to make the slices as uniform as possible so they cook evenly.
    3. In a large bowl, whisk together olive oil, lemon juice, salt, and any desired herbs or spices until well combined.
    4. Add the sliced zucchinis to the bowl and toss them gently to coat them evenly with the marinade. Make sure they’re not overlapping; you want each chip to have its own space.
    5. Load the zucchini slices into the Air Fryer basket in a single layer, leaving some space between each chip. You may need to cook them in batches depending on the size of your Air Fryer.
    6. Cook the zucchinis for 10-12 minutes, shaking the basket halfway through. This will ensure even cooking and prevent any hot spots.

    **The “Secret Trick”:**

    Here’s a pro-tip that sets these chips apart: After cooking, remove the zucchini slices from the Air Fryer and place them on a paper towel-lined plate to drain any excess moisture. This step is crucial – it helps the chips retain their crunchiness and prevents them from becoming soggy.

    **FAQ Section:**

    Q: Can I use other types of squash or vegetables in this recipe?
    A: While zucchinis are ideal for this recipe, you can experiment with other summer squashes like yellow crookneck or pattypan. As for other vegetables, bell peppers or sweet potatoes might work as well, but the cooking time may vary.

    Q: How do I store leftover Air Fryer Zucchini Chips?
    A: Simply place them in an airtight container at room temperature for up to 24 hours. If you want to keep them fresh for longer, consider refrigerating them for up to 3 days or freezing them for up to 2 months.

    Q: Can I make these chips ahead of time and reheat them?
    A: Absolutely! Simply preheat your Air Fryer to 375°F (190°C) and cook the leftover chips for an additional 2-3 minutes, or until they’re crispy once again.

    In conclusion, these Air Fryer Zucchini Chips are a revelation – a delicious, healthy snack that’s perfect for munching on while watching your favorite TV show or taking to a potluck gathering. With its foolproof method and mouthwatering results, this recipe is sure to become a staple in your kitchen arsenal. So go ahead, give it a try, and experience the magic of Air Fryer cooking for yourself!

    📌 Pin This Recipe For Later!

    Air Fryer Zucchini Chips

    Save to Pinterest

    📌 Pin This Designed Recipe!

    Save to Pinterest

  • Air Fryer Apple Turnovers

    Air Fryer Apple Turnovers

    From Cooking Fail to Air Fryer Apple Turnover Perfection

    As a self-proclaimed foodie and home cook, I’ve had my fair share of kitchen mishaps. One particular incident still makes me chuckle – the time I attempted to make homemade apple pies for a family gathering. Let’s just say it was more like an experiment gone wrong than a culinary masterpiece. The crust was tough, the apples were mushy, and the whole thing looked like it belonged in a bad comedy sketch.

    Fast-forward to when my trusty Air Fryer arrived at my doorstep. I had high hopes that this game-changing kitchen appliance would help me redeem myself in the world of baking. And boy, did it ever! After some trial-and-error (and many successful batches), I discovered the magic formula for making crispy, golden-brown air fryer apple turnovers that left everyone begging for more.

    Why This Recipe Works

    So, what makes these air fryer apple turnovers so special? It’s all about texture and health. Unlike traditional deep-fried pastries or oven-baked pies, this recipe yields a delicate, flaky crust that’s perfectly balanced with the tender apples and a hint of cinnamon. And the best part? You can indulge in these sweet treats without feeling guilty, thanks to the air fryer’s ability to cook them with minimal oil.

    Ingredients

    To make these mouthwatering apple turnovers, you’ll need:

    * 1 package of puff pastry, thawed (I recommend using Dufour or Pepperidge Farm)
    * 2-3 apples, peeled and sliced (Granny Smith or Fuji work well)
    * 1/4 cup granulated sugar
    * 1 tablespoon cornstarch
    * 1 teaspoon ground cinnamon
    * 1/4 teaspoon salt
    * 1 egg, beaten (for brushing pastry)
    * Cooking spray or oil for the air fryer

    Substitutions: If you can’t find puff pastry or prefer a gluten-free option, try using a gluten-free puff pastry alternative or even crescent roll dough.

    Step-by-Step

    Now that we have our ingredients, let’s get started!

    1. Preheat your Air Fryer to 375°F (190°C).
    2. In a large bowl, combine the sliced apples, granulated sugar, cornstarch, cinnamon, and salt. Mix until the apples are evenly coated.
    3. Roll out the puff pastry on a lightly floured surface to about 1/4 inch thickness.
    4. Spoon the apple mixture onto one half of the pastry, leaving a 1-inch border around the edges.
    5. Brush the edges with beaten egg for a golden glaze.
    6. Fold the other half of the pastry over the apples, pressing gently to seal the edges.
    7. Place the turnover in the air fryer basket, seam-side down. Repeat with remaining ingredients.
    8. Cook the turnovers for 10-12 minutes, or until the pastry is golden brown and crispy.
    9. Brush the tops with cooking spray or oil for an extra-golden finish.

    The “Secret Trick”

    Here’s a pro-tip that’ll take your air fryer apple turnovers to the next level: After the initial 10-12 minutes of cooking, increase the temperature to 400°F (200°C) and cook for an additional 2-3 minutes. This will give you an extra-crispy, caramelized crust that’s simply divine.

    FAQs

    Q: Can I use a different type of pastry?
    A: Yes! While puff pastry is ideal, you can also try using crescent roll dough or even a gluten-free puff pastry alternative. Just be aware that the texture might differ slightly.

    Q: How do I store leftover turnovers?
    A: Let them cool completely before storing in an airtight container at room temperature for up to 3 days. You can also freeze them for up to 2 months and reheat in the air fryer or oven when ready.

    Q: Can I make these ahead of time?
    A: Yes! Prepare the apple mixture and assemble the turnovers, then store them in the refrigerator for up to 24 hours before cooking. Just be sure to let them come to room temperature before baking.

    There you have it – a foolproof recipe for air fryer apple turnovers that’s sure to become a family favorite. So go ahead, give it a try, and indulge in these crispy, sweet treats without the guilt!

    📌 Pin This Recipe For Later!

    Air Fryer Apple Turnovers

    Save to Pinterest

    📌 Pin This Designed Recipe!

    Save to Pinterest

  • Air Fryer Pork Chops

    Air Fryer Pork Chops

    Air Fryer Pork Chops: A Game-Changing Recipe for Busy Home Cooks

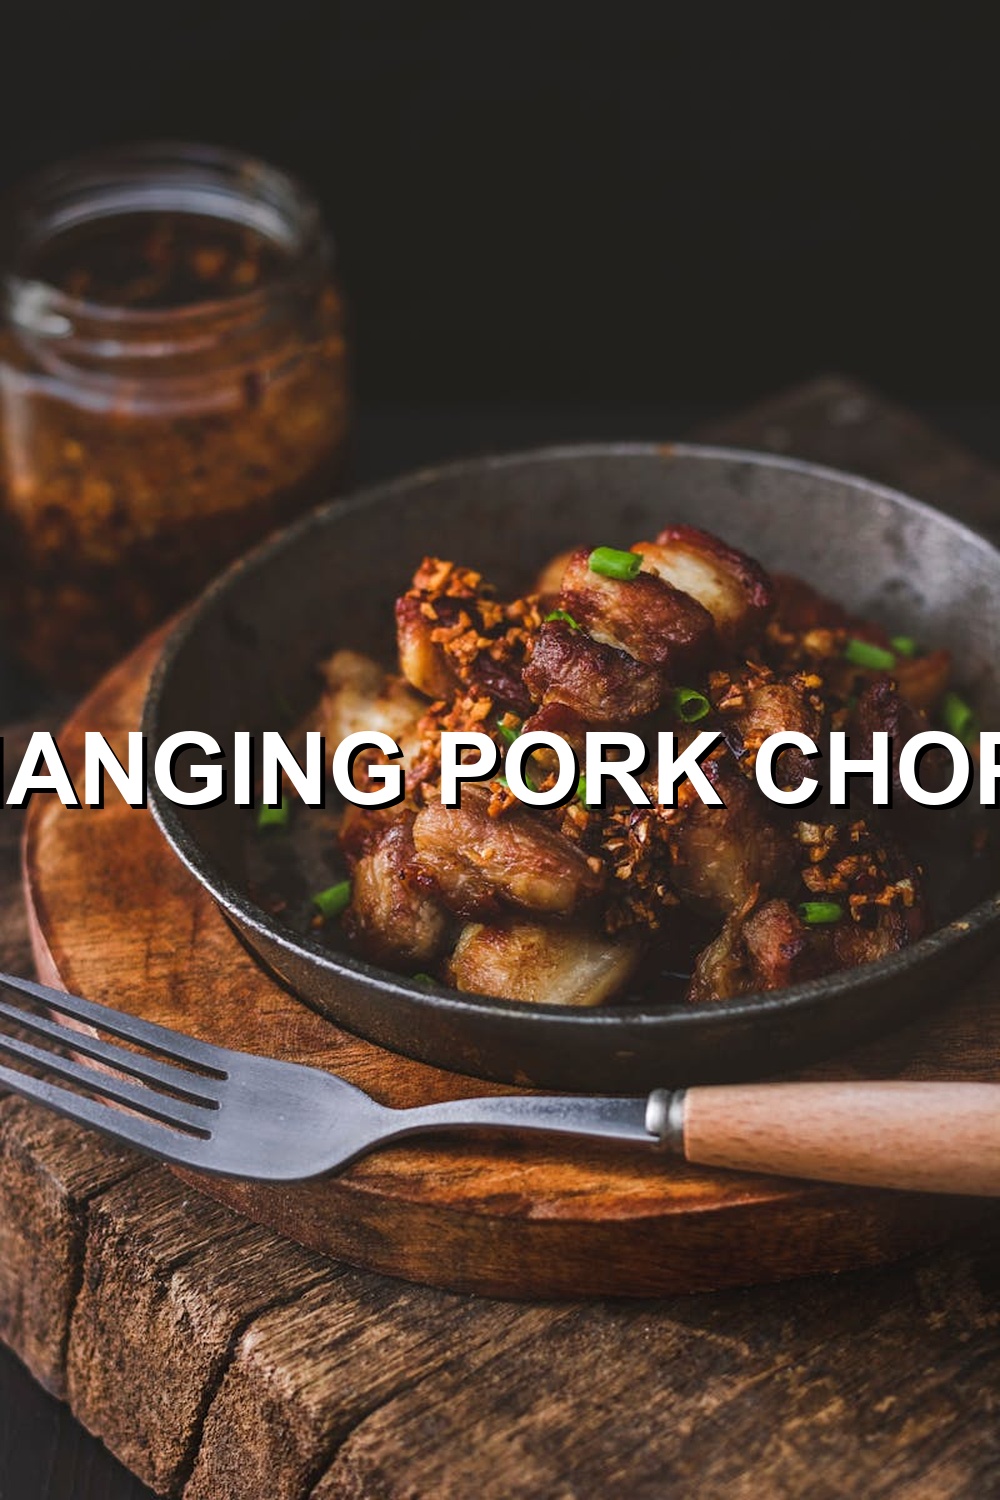
    As a busy home cook, I’ve had my fair share of cooking fails. But one particular incident still makes me cringe to this day. It was a weeknight dinner rush, and I decided to try my hand at pan-frying pork chops. Sounds simple enough, right? Wrong! Those tender chops quickly turned into burnt, tough, and inedible pieces of meat. My family politely declined seconds (read: they were too polite to tell me the truth). Devastated by this failure, I set out to find a solution that would satisfy even the pickiest eaters. That’s when I stumbled upon the magic of air frying.

    Why This Recipe Works

    Pork chops are notorious for being finicky. They can easily become dry and tough if overcooked or underseasoned. Air fryer pork chops, however, offer a game-changing solution. By using this technology, we can achieve tender, juicy meat with a crispy exterior – all without adding extra fat or calories. The air fryer’s hot air circulation system circulates heat evenly around the chop, ensuring that every bite is cooked to perfection.

    Ingredients

    • Pork Chops: 4-6 boneless pork chops (preferably thick-cut), such as Tyson or Perdue
    • Spices and Seasonings:**
      • Salt: Morton’s Kosher Salt or Diamond Crystal
      • Pepper: Tellicherry Peppercorns or McCormick’s Black Pepper
      • Paprika: Hungarian Paprika or Sweet Paprika
    • Oil: Avocado Oil or Olive Oil (use a neutral-tasting oil for best results)
    • Lemon Juice: Freshly squeezed lemon juice or bottled lemon juice
    • Garlic Powder: Simply Organic Garlic Powder or Frontier Co-op Garlic Powder

    Step-by-Step Guide to Air Fryer Pork Chops

    To achieve the perfect air fryer pork chops, follow these easy steps:

    1. Preheat your air fryer to 400°F (200°C). Yes, you read that right – 400°F! This will ensure a nice sear on the outside while keeping the inside juicy.
    2. Rinse and pat dry the pork chops with paper towels. Remove any excess moisture for even cooking.
    3. In a small bowl, mix together salt, pepper, paprika, garlic powder, and a pinch of oil. Rub this spice blend all over the pork chops, making sure they’re evenly coated.
    4. Place the pork chops in a single layer on the air fryer basket. You may need to cook them in batches depending on the size of your air fryer.
    5. Cook the pork chops for 5-6 minutes per side, or until they reach an internal temperature of 145°F (63°C). Adjust cooking time based on the thickness of your chops.
    6. After flipping the pork chops, squeeze a small amount of lemon juice over them. This will add a burst of citrus flavor and help keep the meat moist.
    7. Remove the air fryer pork chops from the basket and let them rest for a few minutes before serving. The juices will redistribute, ensuring each bite is tender and flavorful.

    The Secret Trick: Don’t Press Down!

    I know it’s tempting to press down on those juicy pork chops with your spatula or tongs to get that perfect sear. But trust me, don’t! This can actually push out the juices, making the meat dry and tough. Instead, let the air fryer do its magic by circulating hot air around the chop. It’s a subtle difference, but it makes all the difference in achieving tender, succulent pork chops.

    FAQs

    • Can I use other types of meat?**
      • Yes! Air fryer chicken breasts or thighs work beautifully. Just adjust cooking time and temperature as needed.
      • No! Delicate fish fillets might not hold up well to the air fryer’s high heat. Stick to hearty meats like pork, beef, or lamb for best results.
    • How do I keep my air fryer clean?**
      • Wipe down the basket and pan with a damp cloth after each use. For tough stains, mix equal parts water and white vinegar in the air fryer and run it at 400°F for 10 minutes.

    With this simple recipe, you’ll be well on your way to becoming an air frying master. And who knows? You might just find yourself joining the ranks of air fryer enthusiasts like me – a community dedicated to cooking up mouth-watering meals with minimal effort and maximum flavor.

    📌 Pin This Recipe For Later!

    Air Fryer Pork Chops

    Save to Pinterest

    📌 Pin This Designed Recipe!

    Save to Pinterest

  • Air Fryer Buffalo Cauliflower Wings

    Air Fryer Buffalo Cauliflower Wings

    From Fail to Flavor: How I Discovered the Perfect Air Fryer Buffalo Cauliflower Wings

    I’ll never forget the day my kitchen was filled with the smell of burnt cauliflower. It was a moment of panic, and I knew something had gone terribly wrong. In an effort to create the perfect vegan “wings” for a friend’s birthday party, I ended up with a batch of inedible, carbonized florets.

    But that mistake led me on a journey of experimentation and discovery. After countless hours of trial and error, I finally perfected my Air Fryer Buffalo Cauliflower Wings recipe. And now, I’m excited to share it with you!

    The Magic of Texture: Why This Recipe Works

    When it comes to creating vegan “wings” that rival their meaty counterparts, texture is key. Crunchy on the outside and tender on the inside – it’s a delicate balance that requires just the right combination of ingredients and cooking techniques.

    The magic happens when you combine the natural crunch of cauliflower with the tanginess of Buffalo sauce. It’s a match made in heaven! By using the Air Fryer, we can achieve that perfect texture without deep-frying or baking for hours.

    Ingredients: What You’ll Need to Get Started

    • Cauliflower: One large head of fresh cauliflower (I recommend using a firm, white variety like Snowball or White Dot)
    • Buffalo Sauce: Frank’s RedHot Buffalo Wing Sauce (or your preferred vegan buffalo sauce alternative)
    • Air Fryer Seasoning:** McCormick’s Old Bay Seasoning or a homemade blend of paprika, garlic powder, onion powder, and salt
    • Oil:** Vegetable oil with a high smoke point (like peanut oil or avocado oil) for air frying
    • Lemon Juice: Freshly squeezed lemon juice for serving (optional)
    • Garnishes:*** Chopped green onions, crumbled vegan blue cheese (if desired), and a dollop of vegan ranch dressing

    Step-by-Step Instructions: A Friend’s Guide to Air Fryer Buffalo Cauliflower Wings

    Now that we have our ingredients, let’s get started!

    1. Preheat your Air Fryer:** Set the temperature to 400°F (200°C) and let it preheat for about 5 minutes.
    2. Rinse and prep the cauliflower:** Rinse the cauliflower head under cold water, then pat dry with paper towels. Break the cauliflower into florets and place them in a bowl.
    3. Season the cauliflower:** Sprinkle the Air Fryer seasoning evenly over the cauliflower florets, making sure they’re all coated.
    4. Air fry the cauliflower:** Place the seasoned cauliflower in a single layer at the bottom of the Air Fryer basket. Cook for 10-12 minutes at 400°F (200°C), shaking the basket halfway through.
    5. Add Buffalo Sauce and oil:** Remove the cauliflower from the Air Fryer and place it in a large bowl. Drizzle with Frank’s RedHot Buffalo Wing Sauce and toss to coat. Add about 1-2 tablespoons of vegetable oil, depending on how saucy you like your wings.
    6. Return to the Air Fryer:** Place the buffalo cauliflower back in the Air Fryer basket and cook for an additional 5-7 minutes at 400°F (200°C), shaking the basket halfway through. This will help the sauce caramelize and the cauliflower crisp up.
    7. Serve and enjoy:*** Remove the wings from the Air Fryer and toss with a squeeze of fresh lemon juice (if desired). Garnish with chopped green onions, crumbled vegan blue cheese, and a dollop of vegan ranch dressing. Serve immediately!

    The “Secret Trick”: A Pro-Tip to Elevate Your Air Fryer Buffalo Cauliflower Wings

    Here’s the thing: most recipes will tell you to toss the cauliflower with buffalo sauce and oil before air frying. But what if I told you there’s a better way? By adding the Buffalo Sauce and oil after the initial 10-12 minutes of air frying, we can achieve that perfect balance of crunch and sauciness.

    This “secret trick” allows the cauliflower to retain its natural texture while still getting coated in that delicious buffalo goodness. Trust me, it makes all the difference!

    FAQs: Your Questions Answered

    • What if I don’t have an Air Fryer? Can I use a regular oven or deep fryer instead? While you can achieve similar results with an oven or deep fryer, the Air Fryer’s unique technology and temperature control make it the best tool for this recipe. If you don’t have an Air Fryer, consider investing in one or using a different method.
    • Can I customize the Buffalo Sauce flavor? Absolutely! Feel free to experiment with different buffalo sauce brands or homemade blends to suit your taste preferences.
    • How do I store leftover Air Fryer Buffalo Cauliflower Wings? Let them cool completely before refrigerating or freezing. Reheat in the oven or microwave when you’re ready to serve.

    In conclusion, my friends, this Air Fryer Buffalo Cauliflower Wings recipe is a game-changer for vegan foodies and adventurous cooks alike. With its perfect blend of texture and flavor, it’s sure to become a new favorite. So go ahead, give it a try, and don’t be afraid to experiment with different variations – the possibilities are endless!

    📌 Pin This Recipe For Later!

    Air Fryer Buffalo Cauliflower Wings

    Save to Pinterest

    📌 Pin This Designed Recipe!

    Save to Pinterest

  • Air Fryer Mozzarella Sticks

    Air Fryer Mozzarella Sticks

    Air Fryer Mozzarella Sticks: A Game-Changing Snack Recipe

    I still remember the day I tried to make mozzarella sticks from scratch. It was a Sunday afternoon, and my family was gathered around the kitchen island, expecting a delicious snack. But what I got was a greasy, soggy mess. The cheese had melted unevenly, leaving some parts rubbery and others burnt. My kids politely declined the offering, and my husband… well, let’s just say he “appreciated” my culinary attempt.

    Fast forward to today, and I’m thrilled to share with you my Air Fryer Mozzarella Sticks recipe – a game-changer that has won over even the pickiest of eaters. The best part? It’s ridiculously easy!

    Why This Recipe Works

    The key to this recipe is texture. When you air-fry mozzarella sticks, they come out crispy on the outside and gooey on the inside – just like your favorite takeout spot. But what really sets these apart is the health factor. By using an Air Fryer, we’re able to reduce the fat content significantly compared to deep-frying or baking.

    Ingredients:

    • Mozzarella cheese sticks (I recommend BelGioioso Mozzarella Cheese Sticks)
    • 1 cup panko breadcrumbs
    • 1/2 cup grated Parmesan cheese
    • 1 egg, beaten
    • 1 tablespoon olive oil
    • Salt and pepper to taste
    • Air Fryer (I use a Philips Airfryer)

    Step-by-Step: A Friend’s Guide

    Don’t worry if you’re new to the Air Fryer – this recipe is a breeze!

    1. **Preheat your Air Fryer** to 375°F (190°C).
    2. In a shallow dish, mix together panko breadcrumbs and Parmesan cheese.
    3. In a separate bowl, beat the egg. Dip each mozzarella stick into the egg, coating it completely, then roll it in the breadcrumb mixture to coat. Place the coated mozzarella stick on a plate or tray. Repeat with remaining sticks.
    4. **Drizzle with olive oil** and sprinkle with salt and pepper to taste.
    5. Load the Air Fryer basket with 3-4 mozzarella sticks (don’t overcrowd).
    6. Cook for 3-4 minutes at 375°F (190°C), or until golden brown and crispy.
    7. Repeat with remaining mozzarella sticks.
    8. **Serve hot** and enjoy!

    The “Secret Trick”: A Pro-Tip You Won’t Find Elsewhere

    Here’s the part where I share my exclusive tip: **Don’t overmix the breadcrumb mixture**! This will ensure that your coating stays crispy and doesn’t become soggy.

    FAQs:

    Q: Can I use other types of cheese?
    A: Yes, but mozzarella is the best for this recipe due to its melting properties. You can experiment with cheddar or provolone if you prefer!

    Q: How do I store leftovers?
    A: Store leftover mozzarella sticks in an airtight container at room temperature for up to 2 days.

    Q: Can I make these ahead of time?
    A: Yes! Prepare the breadcrumb mixture and coat the mozzarella sticks up to 24 hours in advance. Simply cook them in the Air Fryer when you’re ready to serve.

    Get ready to impress your family and friends with this mouthwatering, healthier take on a classic snack. With minimal effort and maximum reward, Air Fryer Mozzarella Sticks are sure to become a staple in your household!

    📌 Pin This Recipe For Later!

    Air Fryer Mozzarella Sticks

    Save to Pinterest

    📌 Pin This Designed Recipe!

    Save to Pinterest

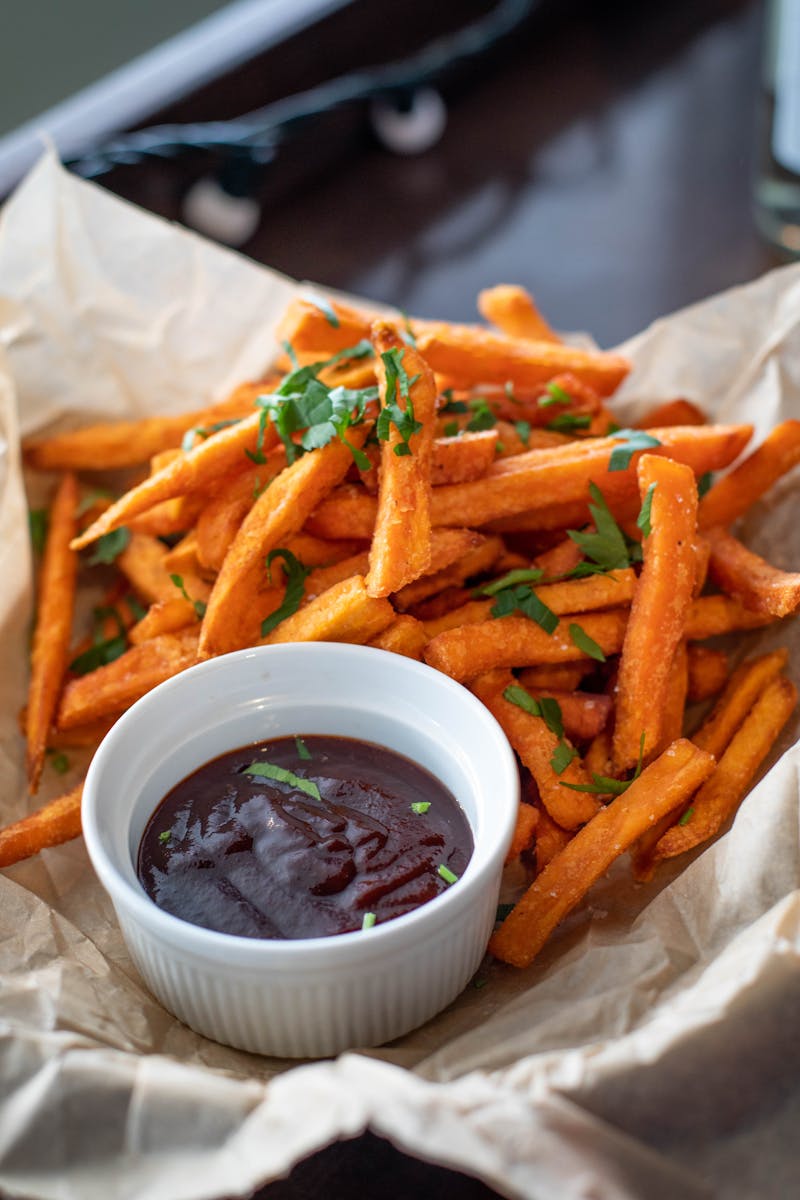
  • Air Fryer Sweet Potato Fries

    Air Fryer Sweet Potato Fries

    A Game-Changing Air Fryer Recipe: Sweet Potato Fries Like Never Before

    I still remember the day I tried to make sweet potato fries for the first time. I was so excited to impress my friends and family with this healthier alternative to regular French fries. But, oh boy, was I in for a disappointment! My attempt at baking them resulted in a batch of soggy, flavorless sticks that even the most adventurous eaters wouldn’t dare touch.

    Fast-forward to when I got my hands on an Air Fryer, and let me tell you, it’s been a game-changer. With this kitchen appliance, I’ve perfected my sweet potato fry recipe, and I’m excited to share it with you today.

    The Secret to Success: Texture and Health

    Sweet potatoes are an excellent choice for fries because they’re packed with nutrients like fiber, vitamins, and minerals. However, when cooked incorrectly, they can become mushy and unappetizing. That’s where the Air Fryer comes in – its rapid air circulation technology helps to retain the natural texture of the sweet potatoes, resulting in crispy fries that are almost indistinguishable from their deep-fried counterparts.

    Ingredients You’ll Need:

    • Sweet Potatoes: I recommend using Russet or Yukon Gold sweet potatoes for their natural sweetness and firm texture. If you can’t find these varieties, any other type of sweet potato will do.
    • Air Fryer Basket:** Make sure to choose an Air Fryer with a non-stick basket to prevent the fries from sticking and making cleanup easier.
    • Oil:** While you can use any oil you like, I suggest using a neutral-tasting oil like avocado or grapeseed for their high smoke points. Avoid olive oil as it may not heat well in an Air Fryer.
    • Seasoning:** Keep it simple with salt and pepper, or get creative with your favorite seasonings – the choice is yours!

    A Step-by-Step Guide to Making Perfect Sweet Potato Fries:

    To start, preheat your Air Fryer to 400°F (200°C). While that’s heating up, wash and peel two large sweet potatoes. Slice them into long, thin strips – about 1/2 inch thick. You can either cut them by hand or use a French fry cutter for uniformity.

    Place the sweet potato strips in a bowl and drizzle with about 1 tablespoon of oil. Toss them gently to coat evenly. If you want your fries extra crispy, try soaking them in cold water for about 30 minutes before cooking. This step helps remove excess starch, resulting in a crunchier exterior.

    Once the Air Fryer is hot, load the sweet potato strips into the basket in batches if necessary – don’t overcrowd! Cook each batch for about 10-12 minutes or until they reach your desired level of crispiness. Shake the basket halfway through cooking to ensure even cooking.

    The Secret Trick: Soaking Fries in Cold Water

    This pro-tip is a game-changer, and I’m surprised more people don’t mention it! Soaking the sweet potato strips in cold water helps remove excess starch, which can make them taste starchy or unpleasantly sweet. This step also ensures that your fries cook evenly and retain their natural texture.

    FAQs:

    Q: Can I use other types of potatoes instead of sweet potatoes?
    A: While you can try using Russet or Yukon Gold potatoes, keep in mind that they might not yield the same level of sweetness as sweet potatoes. Regular white potatoes will also work, but they’ll lack the natural sweetness.

    Q: How do I store leftover sweet potato fries?
    A: Allow the fries to cool completely before storing them in an airtight container at room temperature for up to 24 hours or freezing them for up to 3 months. When reheating, simply place them in the Air Fryer or oven at 350°F (175°C) for about 5-7 minutes.

    Q: Can I make sweet potato fries ahead of time?
    A: Yes! You can prepare the sweet potatoes and cook them up to a day in advance. Simply refrigerate them overnight, then finish cooking them in the Air Fryer or oven when you’re ready to serve.

    The Verdict:

    These Air Fryer sweet potato fries are a total game-changer – crispy on the outside, fluffy on the inside, and bursting with natural sweetness. Whether you’re a health-conscious foodie or just looking for a delicious snack, this recipe is sure to impress. So go ahead, give it a try, and experience the magic of Air Fryer cooking for yourself!

    📌 Pin This Recipe For Later!

    Air Fryer Sweet Potato Fries

    Save to Pinterest

    📌 Pin This Designed Recipe!

    Save to Pinterest

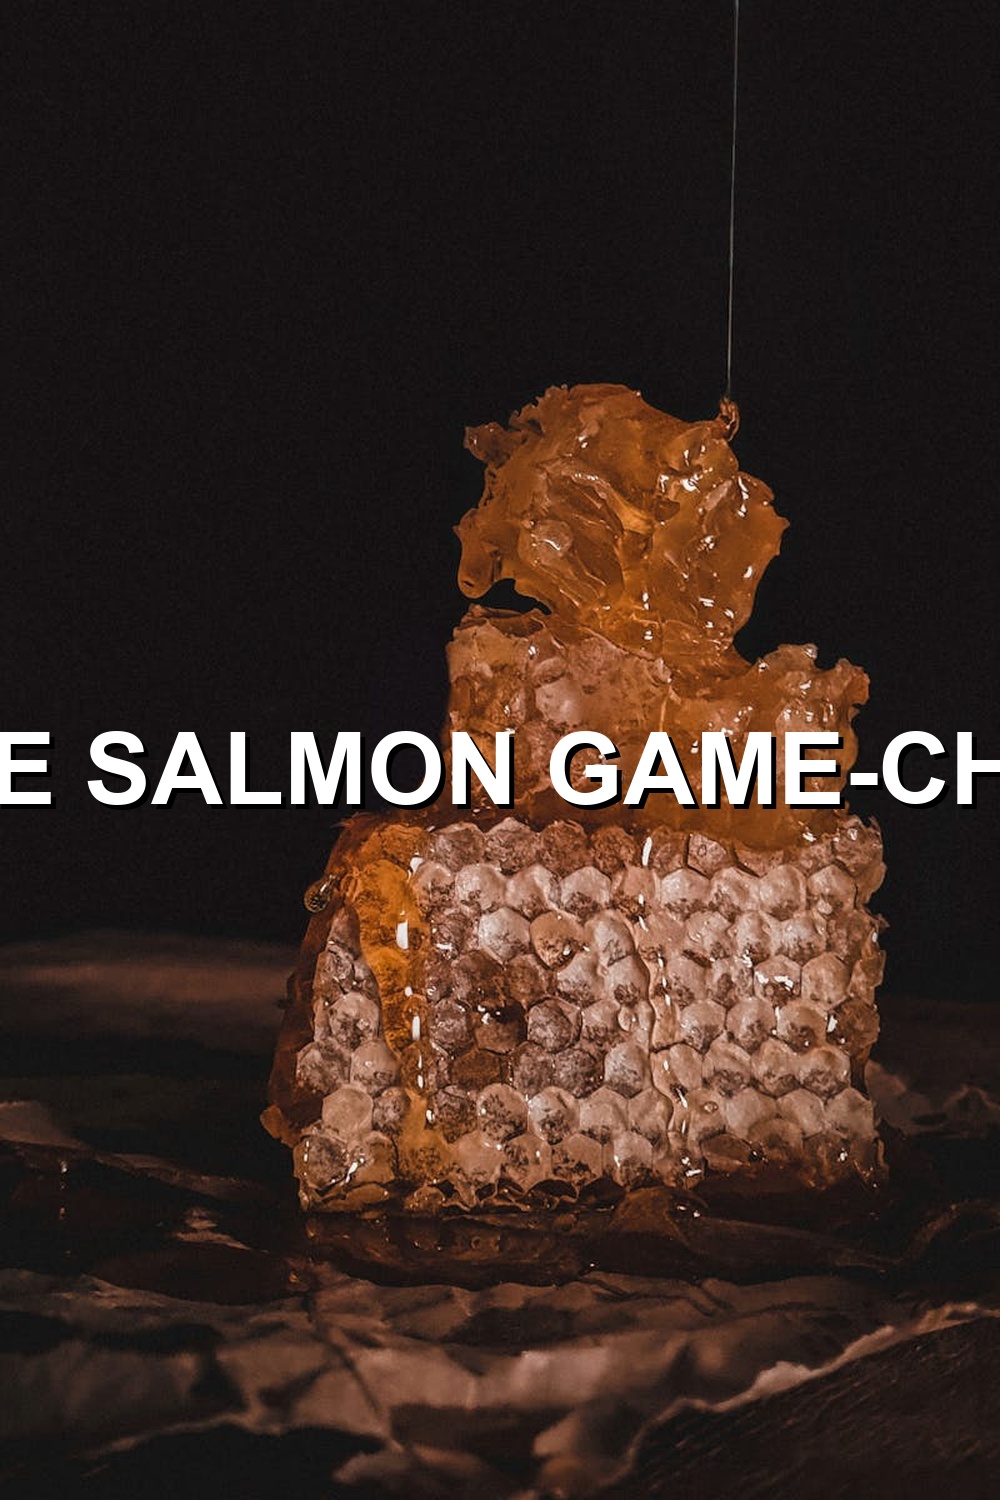
  • Air Fryer Honey Glazed Salmon

    Air Fryer Honey Glazed Salmon

    Air Fryer Honey Glazed Salmon: A Game-Changing Recipe After a Cooking Fail

    I still remember the day I attempted to bake salmon fillets with a honey glaze. It was supposed to be a simple and impressive dinner for my family, but it turned out to be a disaster. The fish was overcooked, dry, and the glaze had caramelized into an unpleasantly sweet mess. My family politely declined seconds, and I was left feeling defeated and frustrated with my cooking skills.

    Fast-forward to today, and I’m thrilled to share with you a recipe that has redeemed me in the kitchen: Air Fryer Honey Glazed Salmon. This dish is a masterpiece of texture and health, perfect for a quick weeknight dinner or a special occasion.

    Why this Recipe Works

    The key to success lies in the air fryer’s ability to produce a crispy exterior while keeping the fish moist and tender. The honey glaze adds a sweet and sticky element that complements the savory flavor of the salmon perfectly. This combination creates a delightful textural contrast that will leave you craving more.

    But what about health? Salmon is an excellent source of omega-3 fatty acids, which are essential for heart health and brain function. When cooked with minimal oil and no added preservatives, this dish becomes a guilt-free option for a nutritious meal.

    Ingredients

    For the best results, use the following ingredients:

    * 4 salmon fillets (6 oz each), preferably wild-caught Alaskan or Pacific sockeye
    * 1/4 cup honey, such as Manuka Honey or Clover Honey
    * 2 tbsp olive oil, like California Olive Ranch Extra Virgin Olive Oil
    * 2 tbsp Dijon mustard, like Grey Poupon Original Dijon Mustard
    * 1 tsp lemon zest, freshly grated from a Meyer Lemon
    * Salt and pepper to taste
    * Fresh parsley or thyme for garnish (optional)

    Substitutions:

    * If you prefer a different type of honey, feel free to experiment. Keep in mind that Manuka Honey has a stronger flavor than Clover Honey.
    * For an alternative to olive oil, use avocado oil or grapeseed oil.

    Step-by-Step Instructions

    Preheat your air fryer to 400°F (200°C). Line the basket with parchment paper or a silicone mat for easy cleanup. In a small bowl, whisk together the honey, Dijon mustard, and lemon zest until well combined. Place the salmon fillets in a single layer on the prepared basket. Brush the honey glaze evenly over both sides of the fish.

    Pro-Tip:

    To ensure the glaze sets properly and doesn’t drip off during cooking, pat the salmon fillets dry with paper towels before applying the glaze. This simple trick will prevent a sticky mess in your air fryer.

    Place the basket in the air fryer and cook for 12-15 minutes, or until the fish reaches an internal temperature of 145°F (63°C). The honey glaze should be caramelized and slightly puffed.

    The “Secret Trick”: Pat Dry Before Glazing

    This pro-tip might seem insignificant, but trust me when I say it makes all the difference. By patting the salmon fillets dry with paper towels before applying the glaze, you’ll prevent excess moisture from interfering with the caramelization process.

    FAQs

    Q: Can I use a different type of fish?
    A: Yes! This recipe works well with tilapia, cod, or even shrimp. Just adjust the cooking time and temperature according to the recommended guidelines for your chosen protein.

    Q: Is it possible to cook the salmon in the air fryer without the glaze?
    A: Absolutely! Simply season the fish with salt, pepper, and any other desired herbs or spices, and cook as directed. You can always add the honey glaze afterwards if you prefer a sweeter dish.

    Q: Can I make this recipe ahead of time?
    A: Yes, but it’s best to prepare the glaze just before cooking. The honey may crystallize or become too sticky if refrigerated for an extended period.

    The Verdict

    Air Fryer Honey Glazed Salmon is a revelation in the kitchen – a dish that combines texture and health with ease and simplicity. With its crispy exterior, tender interior, and sweet and sticky glaze, this recipe has earned a permanent spot in my culinary repertoire. Give it a try and discover why it’s become my go-to dish for special occasions and everyday meals alike!

    📌 Pin This Recipe For Later!

    Air Fryer Honey Glazed Salmon

    Save to Pinterest

    📌 Pin This Designed Recipe!

    Save to Pinterest

  • Air Fryer Brussels Sprouts with Bacon

    Air Fryer Brussels Sprouts with Bacon

    Air Fryer Brussels Sprouts with Bacon: A Game-Changing Recipe

    As a self-proclaimed cooking enthusiast, I’ve had my fair share of kitchen disasters. But one particular failure stood out – overcooked Brussels sprouts that were simultaneously mushy and bitter. It was a dark day for my taste buds.

    The Turning Point: A Perfect Air Fryer Discovery

    After that fateful cooking fail, I decided to take the plunge and invest in an air fryer. Little did I know, it would become my new go-to kitchen companion! The air fryer’s ability to cook food quickly and evenly without sacrificing flavor or texture was a revelation.

    The Magic Behind This Recipe: Texture and Health

    This Air Fryer Brussels Sprouts with Bacon recipe is a masterclass in texture and health. By cooking the sprouts at the perfect temperature, we achieve a tender-but-still-crispy exterior, while maintaining their natural sweetness. And let’s not forget about the added smoky flavor from the bacon – it’s the perfect marriage!

    Ingredients:

    • 1 pound Brussels sprouts, trimmed and halved
    • 6 slices of thick-cut bacon, such as applewood-smoked or peppered (I prefer Wright Brand Bacon)
    • 2 tablespoons olive oil
    • 1 tablespoon lemon juice
    • Salt and pepper to taste
    • Optional: 1/4 teaspoon red pepper flakes for an extra kick

    Step-by-Step: A Friendly Guide

    Now that we have our ingredients, let’s get cooking!

    1. Preheat your air fryer to 400°F (200°C).
    2. In a large bowl, toss the Brussels sprouts with olive oil, lemon juice, salt, and pepper until they’re evenly coated.
    3. Cook the Brussels sprouts in batches if necessary, ensuring they have enough room to cook evenly. Cook for 10-12 minutes, shaking halfway through.
    4. Meanwhile, cook the bacon slices in a pan over medium heat until crispy. Remove from heat and set aside.
    5. Add the cooked Brussels sprouts to a bowl with the crumbled bacon. Toss gently to combine.
    6. If desired, add red pepper flakes for an extra kick of heat.

    The “Secret Trick”: A Pro-Tip You Won’t Find Elsewhere

    Here’s the secret to taking this recipe to the next level: pat dry the Brussels sprouts with a paper towel before cooking. This simple step ensures that excess moisture is removed, allowing the air fryer to cook the sprouts evenly and resulting in a crisper exterior.

    FAQs:

    • Q: Can I use frozen Brussels sprouts?A: While it’s possible to use frozen Brussels sprouts, you may need to adjust the cooking time. Fresh is always best for this recipe!
    • Q: What if my air fryer has a non-stick basket? Do I still need to pat dry the Brussels sprouts?A: Yes, even with a non-stick basket, pat drying the Brussels sprouts is essential for optimal results.
    • Q: Can I substitute the bacon with another protein?A: Absolutely! Try using chicken or turkey bacon for a leaner option. You can also omit the bacon altogether and add some toasted nuts or seeds for added crunch.

    The Verdict:

    This Air Fryer Brussels Sprouts with Bacon recipe is a game-changer for anyone looking to elevate their vegetable game. With its perfect balance of texture and flavor, it’s sure to become a staple in your kitchen. Give it a try and experience the magic of air-fried goodness!

    📌 Pin This Recipe For Later!

    Air Fryer Brussels Sprouts with Bacon

    Save to Pinterest

    📌 Pin This Designed Recipe!

    Save to Pinterest

SnapyTasty: Best Air Fryer Recipes