Honey Garlic Chicken Wings (2026 Viral Recipe). This recipe has gone viral for a reason: it’s quick, easy, and incredibly delicious.

Below you will find the step-by-step instructions to make this amazing dish at home.
Introduction
Get ready to indulge in a sweet and savory culinary masterpiece – Honey Garlic Chicken Wings! These mouthwatering morsels are perfect for game-day gatherings, family movie nights, or just a spontaneous snack attack. With their sticky honey glaze and aromatic garlic flavor, you’ll be hooked from the very first bite.
As a lover of bold flavors and textures, I’ve crafted this recipe to deliver an unparalleled wing-eating experience. By combining the richness of buttery honey with the pungency of roasted garlic, you’ll create a symphony of flavors that will leave your taste buds singing. And don’t worry, I’ve got some pro tips up my sleeve to ensure your wings turn out perfectly crispy and indulgent.
So, without further ado, let’s dive into the recipe!
Ingredients
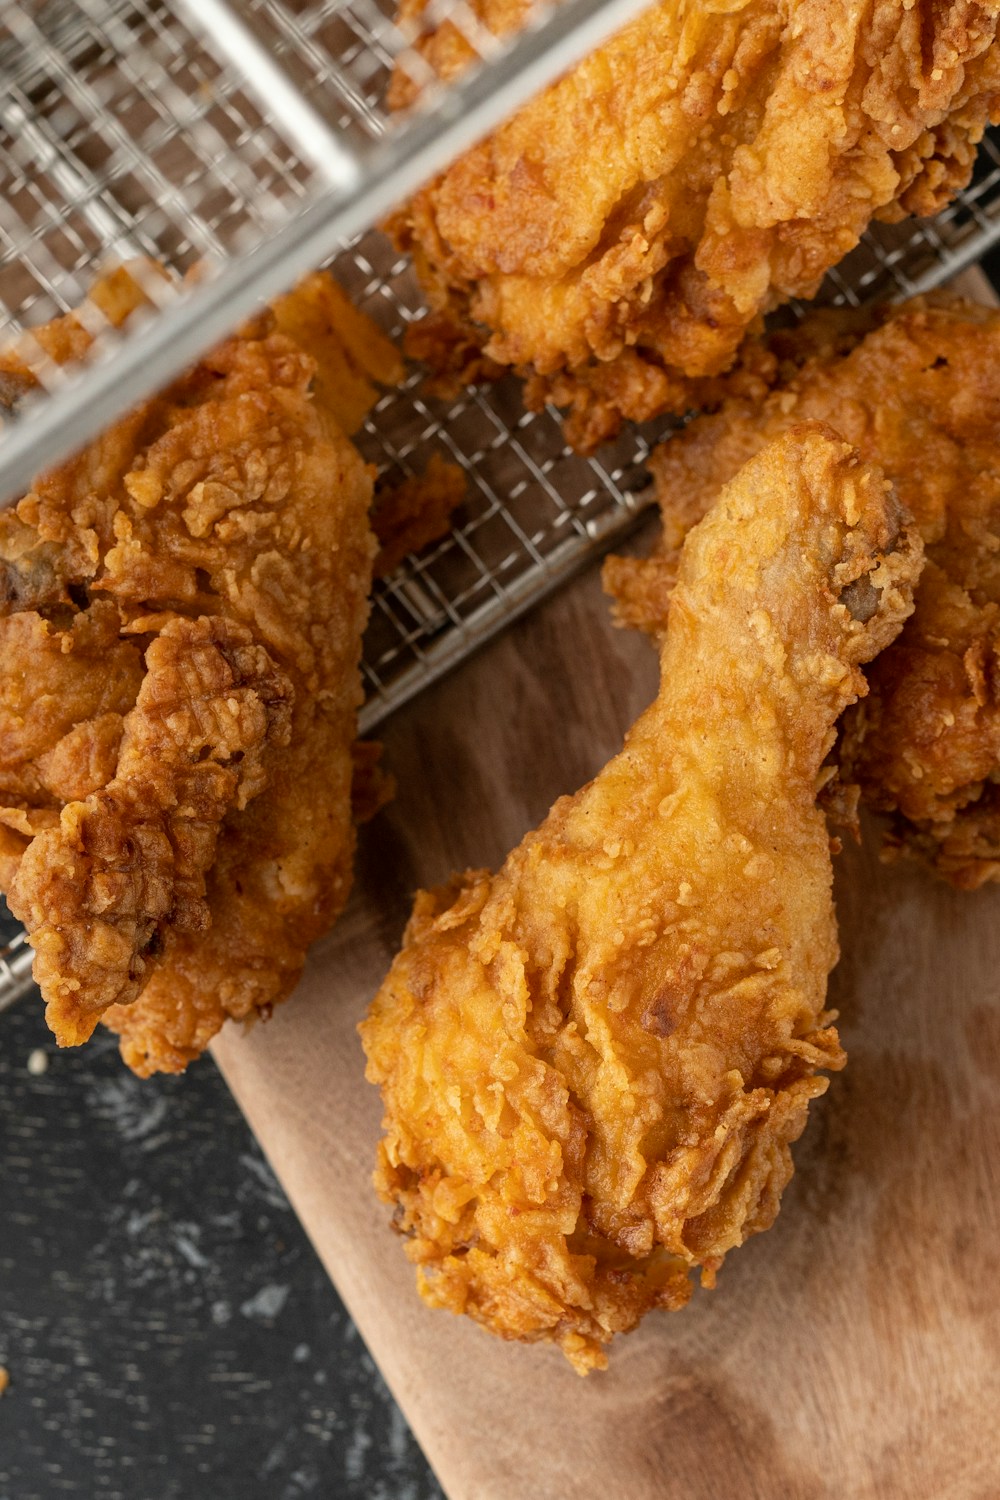
- 2 pounds chicken wings (about 8-10 pieces)
- 1/4 cup honey
- 3 cloves garlic, minced
- 1/4 cup unsalted butter, softened
- 1 tablespoon Dijon mustard
- Salt and pepper to taste
- Optional: paprika, chili powder, or your favorite spice blend for added flavor
Step-by-Step Instructions
Here’s where the magic happens! Follow these steps to create the ultimate Honey Garlic Chicken Wings:
1. **Preheat and prep**: Preheat your oven to 400°F (200°C). Rinse the chicken wings under cold water, pat them dry with paper towels, and season with salt and pepper.
2. **Garlic goodness**: In a small bowl, mix together the minced garlic and softened butter until well combined. Spread this mixture evenly onto the chicken wings, making sure to coat each piece thoroughly.
3. **Honey, I’m home!**: In a separate bowl, whisk together the honey and Dijon mustard until smooth. Brush this sweet and tangy glaze evenly onto the chicken wings, making sure they’re well coated.
4. **Spice it up (optional)**: If you want to add an extra layer of flavor, sprinkle your favorite spice blend or paprika onto the wings. I recommend a pinch of cayenne pepper or chili powder for an added kick!
5. **Get crispy**: Line a baking sheet with aluminum foil and spray with cooking spray. Arrange the chicken wings in a single layer, leaving some space between each piece. Bake for 25-30 minutes or until the wings reach your desired level of crispiness.
6. **Finish with flair**: Remove the wings from the oven and brush them with any remaining honey glaze (you might need to reheat it slightly). Return the wings to the baking sheet and bake for an additional 5-7 minutes, or until they’re nicely caramelized.
Pro Tips for Success
To ensure your Honey Garlic Chicken Wings turn out perfectly, follow these expert tips:
* For extra crispy wings, try baking them at a higher temperature (425°F/220°C) for the first 15-20 minutes. Then, reduce the heat to 400°F (200°C) and finish baking.
* If you prefer a lighter glaze, use less honey or add more mustard to balance out the sweetness.
* To make ahead, prepare the garlic butter mixture and refrigerate it overnight. Simply apply it to the chicken wings before baking.
Frequently Asked Questions
Q: Can I use other types of chicken pieces instead of wings?
A: Absolutely! This recipe works beautifully with chicken tenders, breasts, or thighs. Just adjust the cooking time accordingly.
Q: What’s the best way to store leftover Honey Garlic Chicken Wings?
A: Cool them completely before refrigerating in an airtight container for up to 3 days. Reheat gently in the oven or microwave until crispy and warm.
There you have it – a mouthwatering recipe for Honey Garlic Chicken Wings that will satisfy your cravings and impress your friends!
📢 Join Our Foodie Community!
Love these recipes? Follow us for more daily inspiration and kitchen hacks:
- 📌 Follow on Pinterest: Snapytasty Viral Recipes
- 💬 Chat on Reddit: u/yuumrecipes
💡 Pro Tips for Perfect Air Frying
- Space is Key: Don’t overcrowd the basket for max crispiness. 🌬️
- Preheat: A preheated air fryer gives better results. 🔥
- Shake: Flip halfway for even browning. 🔄
💡 Master Your Air Fryer: Pro Tips
- Airflow: Don’t crowd the basket. 🌬️
- Preheat: 3-5 mins for best results. 🔥
- Shake: Flip halfway for even browning. 🔄
Why You Should Use an Air Fryer for This Recipe
Using an air fryer is a game-changer for this recipe. Unlike traditional frying, it uses up to 95% less oil, making your meal significantly healthier without sacrificing that delicious crunch. Plus, it is faster than a conventional oven and doesn’t heat up your entire kitchen.
Pro Tips for Perfection
- Don’t Overcrowd: Always cook in a single layer to ensure the hot air circulates evenly.
- Preheat: Taking 3 minutes to preheat your air fryer ensures the food starts cooking immediately for a crispier texture.
- Shake It: Shake the basket halfway through cooking to ensure even browning on all sides.
How to Store and Reheat
If you have leftovers (which is rare!), store them in an airtight container in the refrigerator for up to 3 days. To reheat, simply pop them back in the air fryer at 350°F for 3-4 minutes until they are crispy again. Do not use a microwave, as it will make them soggy.
🔥 Join Our Viral Foodie Community!
Don’t miss out on the latest air fryer trends. Follow us now:
📌 Pin This Recipe!
Save to your Air Fryer board.