Garlic Butter Steak Bites (2026 Viral Recipe). This recipe has gone viral for a reason: it’s quick, easy, and incredibly delicious.
Below you will find the step-by-step instructions to make this amazing dish at home.
Introduction
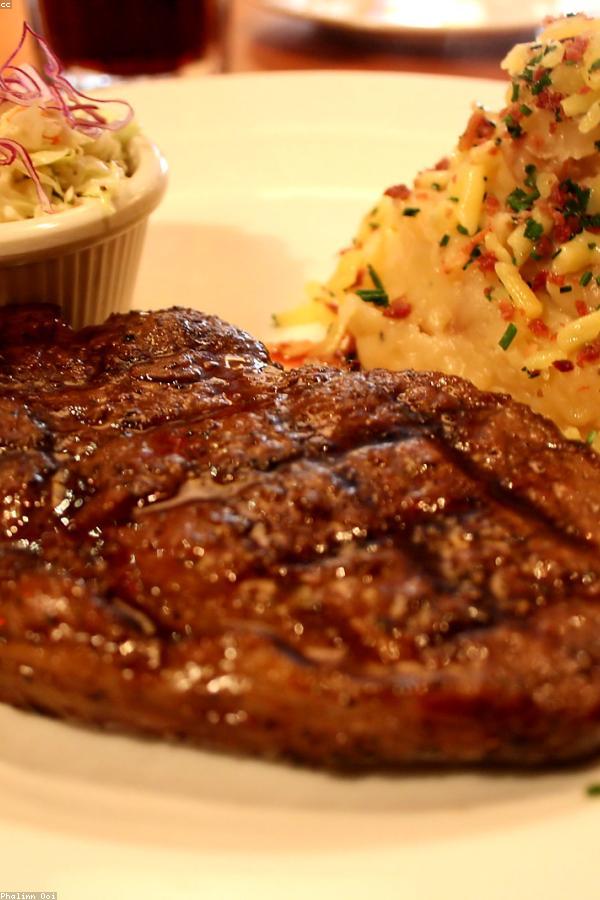
Get ready to tantalize your taste buds with a mouthwatering dish that’s sure to become a family favorite: Garlic Butter Steak Bites! These tender, juicy bites of heaven are packed with flavor and can be prepared in no time. Whether you’re a busy professional or a parent looking for a quick and easy meal solution, this recipe is perfect for you.
Ingredients
- 1 pound steak (such as flank steak or ribeye), cut into 1-inch cubes
- 2 cloves garlic, minced
- 2 tablespoons butter, softened
- 1 tablespoon olive oil
- 1 teaspoon salt
- 1/4 teaspoon black pepper
- Optional: 1/4 cup chopped fresh parsley for garnish
Step-by-Step Instructions
1. Preheat your oven to 400°F (200°C). Line a baking sheet with parchment paper or aluminum foil for easy cleanup.
2. In a small bowl, mix together the minced garlic and softened butter until well combined.
3. Place the steak cubes on the prepared baking sheet in a single layer, leaving a little space between each bite.
4. Drizzle the olive oil over the steak, making sure each piece is coated.
5. Sprinkle the salt and black pepper evenly over the steak, making sure not to overlap the pieces.
6. Take small dollops of the garlic butter mixture (about 1/2 teaspoon per steak cube) and place them on top of each piece of steak.
7. Use your fingers or a spatula to gently spread the garlic butter evenly across each piece of steak, making sure they’re all coated with that delicious flavor.
8. Place the baking sheet in the oven and bake for 12-15 minutes, or until the steak reaches your desired level of doneness (rare, medium rare, or well done).
9. Remove the baking sheet from the oven and let it cool slightly before serving.
Pro Tips for Success
* For a more caramelized crust on your garlic butter, try broiling the steak bites for an additional 1-2 minutes after baking. Keep an eye on them to avoid overcooking.
* If you’re short on time, prepare the garlic butter mixture ahead of time and store it in the refrigerator for up to 24 hours.
* To make this recipe more substantial, serve the Garlic Butter Steak Bites with your favorite sides, such as mashed potatoes, roasted vegetables, or a fresh green salad.
Frequently Asked Questions
Q: Can I use other types of steak besides flank steak or ribeye?
A: Yes! Feel free to experiment with different cuts of steak, like sirloin, strip loin, or even ground beef. Just adjust the cooking time and method as needed.
Q: How do I store leftovers?
A: Store leftover Garlic Butter Steak Bites in an airtight container in the refrigerator for up to 3 days. Reheat them in the oven or on the stovetop with a little oil until warmed through.
Q: Can I make this recipe ahead of time and freeze it?
A: Yes! Prepare the garlic butter mixture and store it in an airtight container in the freezer for up to 2 months. Simply thaw and bake when you’re ready.
Get ready to indulge in the rich, savory flavors of Garlic Butter Steak Bites. With this simple recipe, you’ll be on your way to creating a dish that’s sure to please even the pickiest eaters. So go ahead, get creative, and make it your own!
📢 Join Our Foodie Community!
Love these recipes? Follow us for more daily inspiration and kitchen hacks:
- 📌 Follow on Pinterest: Snapytasty Viral Recipes
- 💬 Chat on Reddit: u/yuumrecipes
💡 Pro Tips for Perfect Air Frying
- Space is Key: Don’t overcrowd the basket for max crispiness. 🌬️
- Preheat: A preheated air fryer gives better results. 🔥
- Shake: Flip halfway for even browning. 🔄
💡 Master Your Air Fryer: Pro Tips
- Airflow: Don’t crowd the basket. 🌬️
- Preheat: 3-5 mins for best results. 🔥
- Shake: Flip halfway for even browning. 🔄
Why You Should Use an Air Fryer for This Recipe
Using an air fryer is a game-changer for this recipe. Unlike traditional frying, it uses up to 95% less oil, making your meal significantly healthier without sacrificing that delicious crunch. Plus, it is faster than a conventional oven and doesn’t heat up your entire kitchen.
Pro Tips for Perfection
- Don’t Overcrowd: Always cook in a single layer to ensure the hot air circulates evenly.
- Preheat: Taking 3 minutes to preheat your air fryer ensures the food starts cooking immediately for a crispier texture.
- Shake It: Shake the basket halfway through cooking to ensure even browning on all sides.
How to Store and Reheat
If you have leftovers (which is rare!), store them in an airtight container in the refrigerator for up to 3 days. To reheat, simply pop them back in the air fryer at 350°F for 3-4 minutes until they are crispy again. Do not use a microwave, as it will make them soggy.
🔥 Join Our Viral Foodie Community!
Don’t miss out on the latest air fryer trends. Follow us now:
📌 Pin This Recipe!
Save to your Air Fryer board.